At first glance, making ice cream at home with a bag of salt and a bucket of ice might seem like a science experiment, but it’s actually a time‑honored method that yields silky, customizable dessert without an expensive machine. This classic technique, often referred to as the “ice‑cream bucket” method, has been documented in culinary histories and remains popular in kitchens across the globe. By understanding the science behind the temperature drop and the role of salt, you can produce premium ice cream in minutes while keeping your freezer free for dinner.
How Salt Lowers the Freezing Point
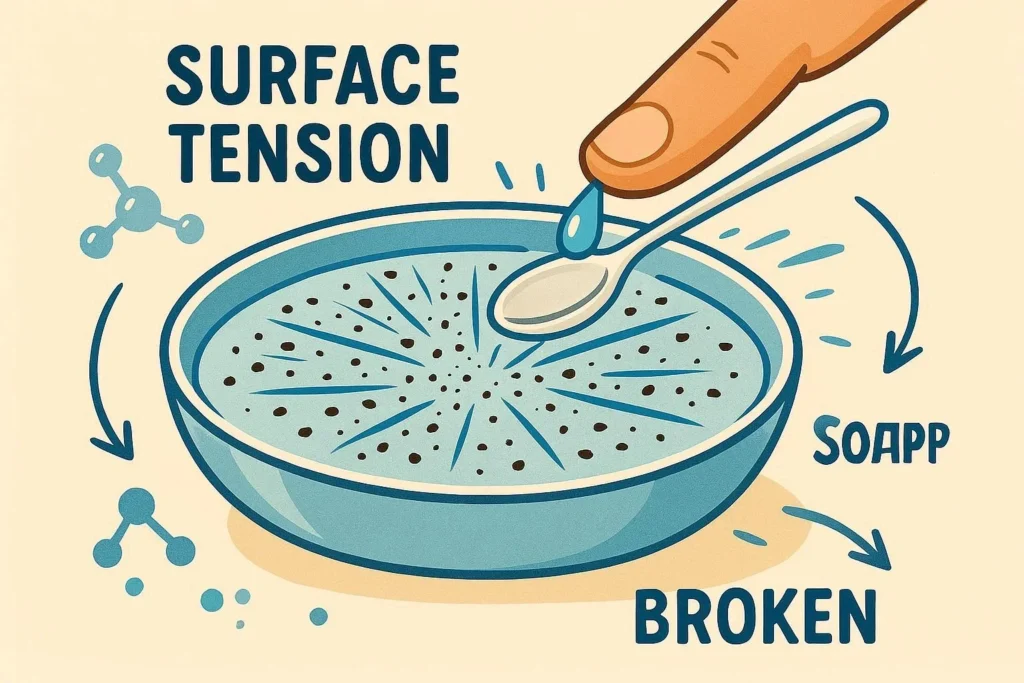
The secret of the salt‑ice method lies in freezing point depression, a fundamental principle in physical chemistry. When salt (sodium chloride) is added to ice, it dissolves into its ions, which interfere with the formation of the crystal lattice that ice normally follows. As a result, the mixture’s temperature drops below the standard 32 °F (0 °C) at which pure ice freezes, often reaching -5 °F to -10 °F (–20 °C to –12 °C). This colder environment crushes the ice‑cream mixture rapidly, allowing the fat and sugar to set into a smooth, spoonable texture.
For a deeper dive into the thermodynamics involved, the Wikipedia article on freezing point depression offers a clear explanation that can help you tweak your ratio of salt to ice for the perfect taste and texture.
Gathering Your Ingredients and Utensils
Although the recipe is deceptively simple, the right tools make a world of difference. Begin with a sturdy, sealable plastic bag or a two‑part mixing bowl that can be sealed. The bottom of the bag or bowl should be lined with a small bowl of your ice‑cream base—typically a blend of heavy cream, whole milk, sugar, and a flavoring of your choice. For a traditional custard base, whisk a couple of egg yolks into the dairy mixture before chilling it for an hour in the fridge.
You’ll also need:
- Standard kitchen salt (not iodized, as iodized salt contains additives that could alter the ice’s behavior)
- Heavy ice, ideally crushed or broken into small cubes for quicker heat transfer
- Two containers: a larger one for the ice‑salt bath and a smaller one for the ice‑cream mixture
If you’re aiming for a dessert that can be stored for days, consider adding a pinch of xanthan gum or using a base rated for freezer‑storage.
Step‑by‑Step: From Bowl to Bliss
1. Prep the base. If using a custard base, whisk eggs with milk and cream, pour into a saucepan, and slowly heat while stirring until it thickens. Remove from heat, add sugar and vanilla, and let chill.
2. Fill the inner container. Place the chilled mixture into the small bag or bowl, leaving enough room for expansion. Seal it tightly; this prevents leaks that could contaminate the ice bath.
3. Arrange the ice bath. Dump crushed ice into the larger container until it fills almost to the top. Sprinkle a generous handful—typically 2 to 3 cups—of salt over the ice. The salt will start dissolving as soon as it contacts the ice, initiating the temperature drop you need.
4. Encase the mixture. Submerge the sealed inner container in the ice‑salt bath. Ensure the water doesn’t touch the ice‑cream mixture; if it does, extra salt and ice will be required. Stir or swirl gently every 2 minutes to distribute the cold evenly and break up any forming ice crystals.
5. Monitor the texture. After 10 to 15 minutes, the mixture should reach a soft‑serve consistency. If you prefer a firmer scoop, leave it another 5 minutes. Quickly remove the bag or bowl, drain any excess ice water, and serve immediately, or place it in a shallow dish for a few minutes to firm further.
Tips for Flavors, Consistency, and Safety
Flavoring is where creativity truly shines. Add fruit purees, chocolate chips, or savory elements like sea‑salt caramel to tailor each batch. When working with berries, strain them to remove seeds for a silky finish. For chocolate lovers, melt high‑cocoa chips into the base and blend thoroughly to avoid lumps.
Consistency is key. If the mixture is too thick, add a splash of milk or a teaspoon of heavy cream; if too thin, chill it longer or incorporate an emulsifier such as a small amount of lecithin. Always taste test the base before freezing—sweetness levels may change slightly as the mixture sets.
Safety first: the salt used in the bath can be hazardous to the eyes and skin. Wear gloves if you’re handling large amounts, and keep it away from children. Remember, this method can produce very cold surfaces—use a towel or oven mitts when removing the inner container.
The Physics Behind the Flavor: Why It Works So Well
The interaction between salt, ice, and the ice‑cream base demonstrates a classic heat transfer process. Salt dissolves, releasing ions that lower the freezing temperature; ice absorbs heat from the mixture, which is then removed by the surrounding ice. The more salt you use, the lower the temperature that can be achieved, but too much salt can produce a brine that clogs the bag or bowl. Experimenting with 1:2 or 1:3 salt‑to‑ice ratios can help you find the sweet spot for flavor preservation and texture.
Notably, this technique mirrors how ice‑cream trucks keep their treats cold while on the move. The truck’s compressor system similarly lowers temperatures, but the salt‑ice method offers a low‑cost, portable alternative. Whether you’re camping, hosting a backyard party, or simply craving a nostalgic treat, this approach brings the magic of old‑school dessert making into the modern kitchen.
Conclusion and Call to Action
With the right ingredients, a bit of scientific knowledge, and a simple bag or bowl, you can create restaurant‑quality ice cream using salt in the comfort of your home. The method’s accessibility makes it a versatile choice: kids can help measure salt, bakers can experiment with flavor profiles, and seasoned chefs can perfect texture tweaks. Embrace this low‑tech, high‑flavor technique and share your frosty creations with friends and family—your homemade dessert will become the highlight of any gathering.
Ready to make your own sweet miracle? Grab a bag of salt, a bucket of ice, and your favorite flavoring, and start experimenting today. Don’t forget to document your results—share a photo, tweak the salt ratio, and refine your recipe. Enjoy the process, savor the outcome, and keep the tradition alive by passing this time‑tested method down to future generations. Treat yourself to the simple pleasure of crafting your own creamy, dreamy delight—your homemade ice cream using salt awaits!
Frequently Asked Questions
Q1. How much salt should I use for the ice bath?
Typically, a 2 to 3 cup ratio of salt to crushed ice works well for a standard 2‑quart mixture. Adjust the amount based on the size of your batch and the temperature of your ice. Adding too much salt can create a brine that may be inconvenient to handle.
Q2. Can I use sea salt or table salt for the bath?
Sea salt can be used, but its uneven grain size may slow the dissolution process, leading to a less efficient temperature drop. Table salt is fine; just avoid iodized salt, as additives can sometimes affect the ice’s behavior.
Q3. Why does my ice cream get grainy instead of smooth?
Graininess—often called ice crystals—is usually due to insufficient stirring or a base that’s too warm. Ensure you stir every 2 minutes and verify that your base’s temperature is below 45 °F (7 °C) before starting the bath.
Q4. How long can I keep the finished ice cream in the freezer?
Properly set ice cream can last up to two weeks if kept in an airtight container at 0 °F or below. Avoid frequent temperature fluctuations to preserve texture and flavor.
Q5. Is this method safe for raw eggs?
Using raw eggs in an ice‑cream mix carries a risk of salmonella. To mitigate this, use pasteurized eggs or cook the custard thoroughly until it reaches 160 °F (71 °C) before allowing it to chill.