Vinegar baking soda rockets are a classic demonstration of a simple yet powerful chemical reaction that turns household ingredients into a fun, educational experiment. By combining acetic acid from vinegar with sodium bicarbonate, you create carbon dioxide gas that builds pressure and propels a lightweight rocket upward. This article explores the science behind the reaction, offers step‑by‑step instructions for building your own rocket, and provides safety tips and creative variations to keep the excitement going.
The Science Behind the Reaction
At the heart of the vinegar baking soda rocket is a neutralization reaction that produces carbon dioxide gas. When acetic acid (CH₃COOH) from vinegar meets sodium bicarbonate (NaHCO₃), the following equation occurs:
CH₃COOH + NaHCO₃ → CH₃COONa + CO₂ + H₂O
The carbon dioxide gas expands rapidly, creating pressure inside the rocket’s container. Once the pressure exceeds the structural limits of the container, the gas escapes, pushing the rocket upward. This is a classic example of a chemical reaction that converts chemical energy into kinetic energy.
Understanding the reaction also involves recognizing the role of temperature and concentration. A higher vinegar concentration or a larger amount of baking soda increases the rate of gas production, which can result in a higher thrust. However, too much gas can cause the container to burst, so balance is key.
Building Your Own Vinegar Rocket
Creating a vinegar rocket is straightforward and requires only a few household items. Below is a step‑by‑step guide to help you assemble a safe and effective rocket.
- Gather Materials: 1‑liter plastic bottle, 1 tablespoon baking soda, 1 cup vinegar, a cork or cap that fits snugly, a small plastic or paper tube for the nozzle, and a launch pad (a sturdy cardboard base works well).
- Prepare the Rocket: Place the baking soda inside the bottle. Insert the cork or cap, ensuring it’s tight enough to hold the gas but not so tight that it can’t be removed quickly.
- Attach the Nozzle: Slide the plastic or paper tube into the cork. This will direct the escaping gas upward.
- Set Up the Launch Pad: Position the bottle on the cardboard base, pointing the nozzle upward. Secure the base with tape if necessary.
- Launch: Pour the vinegar into the bottle, quickly remove the cork, and step back. The gas will build pressure and launch the rocket.
For a more robust design, consider using a small plastic bottle with a thicker wall or a 3‑D printed nozzle that can withstand higher pressures. Always test the rocket in an open area away from people and pets.
Safety Tips and Precautions
While vinegar and baking soda are generally safe, the rapid release of gas can be hazardous if not handled properly. Follow these safety guidelines:
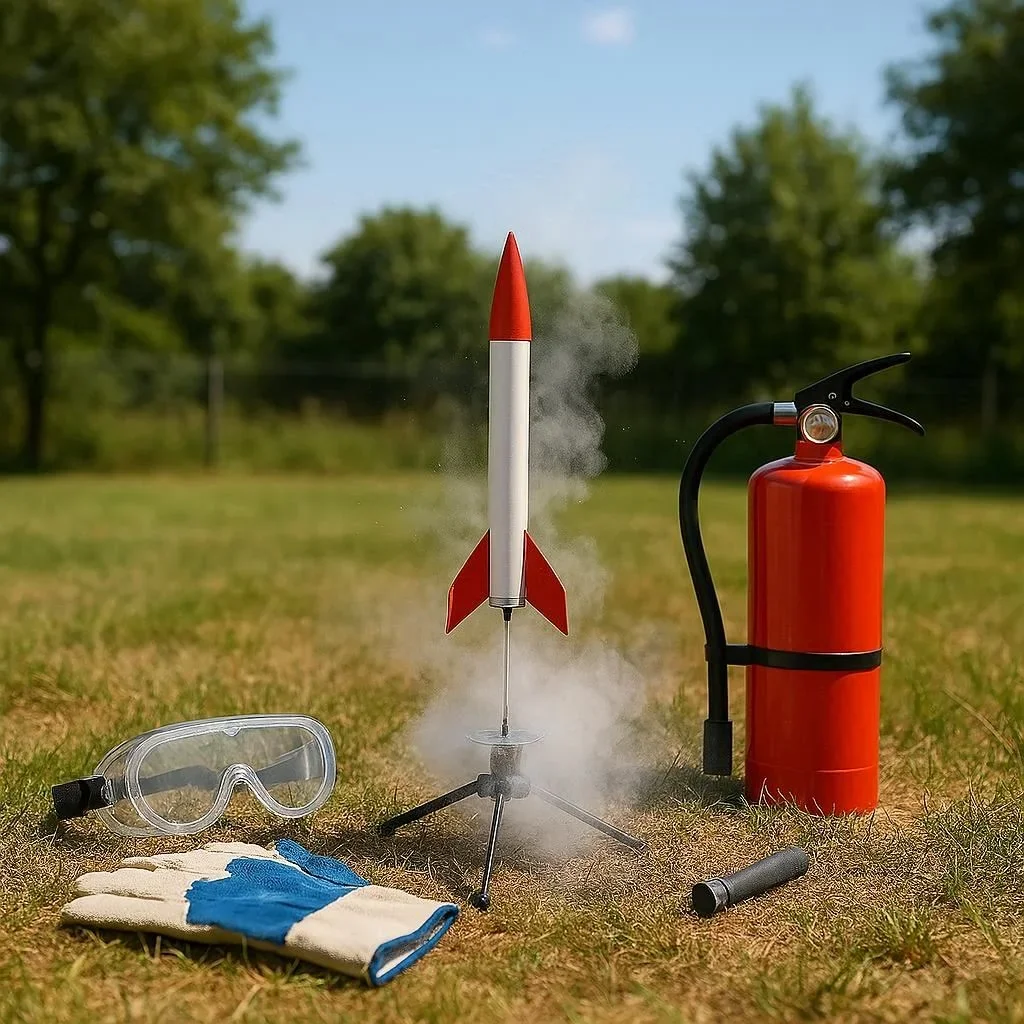
- Wear Protective Gear: Safety goggles and gloves protect against splashes and sudden pressure release.
- Use a Ventilated Area: Conduct the experiment outdoors or in a well‑ventilated space to avoid inhaling excess carbon dioxide.
- Keep a Safe Distance: Stand at least 3–5 meters away from the launch site to avoid injury from a misfired rocket.
- Inspect Materials: Ensure the bottle is free of cracks and the cork fits securely to prevent premature rupture.
- Supervise Children: Children should be supervised by an adult to ensure they follow safety protocols.
By adhering to these precautions, you can enjoy the excitement of a homemade rocket while minimizing risks.
Creative Variations and Experiments
Once you’ve mastered the basic rocket, you can explore variations that add color, sound, or scientific depth. Here are a few ideas:
- Colored Rockets: Add a few drops of food coloring to the vinegar for a vibrant launch.
- Sound Effects: Place a small bell inside the bottle to create a “whoosh” sound as the rocket takes off.
- Multiple Stages: Use two bottles stacked together, each with its own reaction, to create a multi‑stage rocket.
- Scientific Measurement: Attach a pressure sensor to record the pressure curve during the reaction. Compare results with different vinegar concentrations.
- Educational Comparison: Compare the vinegar rocket with a Alka‑Seltzer rocket to discuss solubility and reaction rates.
These variations not only make the experiment more engaging but also deepen your understanding of chemical kinetics and thermodynamics.
Conclusion: Launch Your Learning Today
Vinegar baking soda rockets are more than a fun backyard activity; they’re a gateway to exploring fundamental chemistry concepts such as acid‑base reactions, gas laws, and energy conversion. By following the steps above, you can safely build and launch your own rockets while learning about the science that powers them.
Ready to ignite your curiosity? Gather your materials, follow the safety guidelines, and launch a rocket that will spark both excitement and learning. Share your results with friends, teachers, or on social media to inspire others to explore the wonders of chemistry.
Take the next step—start your vinegar rocket experiment today and watch science take flight!
For more detailed explanations of the underlying chemistry, visit the Acetic Acid and Sodium Bicarbonate Wikipedia pages. If you’re interested in how NASA uses similar principles for propulsion, check out the NASA website. For additional safety resources, the CDC provides guidelines on handling household chemicals safely.
Frequently Asked Questions
Q1. What causes the rocket to launch?
The reaction between acetic acid in vinegar and sodium bicarbonate produces carbon dioxide gas. This gas expands rapidly, building pressure inside the bottle. When the pressure exceeds the bottle’s structural limits, the gas escapes, propelling the rocket upward. The process converts chemical energy into kinetic energy.
Q2. How can I make my rocket go higher?
Increasing the amount of baking soda or using a higher concentration of vinegar boosts gas production. A thicker‑walled bottle or a well‑designed nozzle can withstand higher pressure. Adding a small amount of food coloring can also help you see the thrust more clearly. However, balance is key to avoid bursting the container.
Q3. Is it safe for kids?
With proper precautions, the experiment is safe for children. Always wear safety goggles and gloves, conduct the launch outdoors, and keep a safe distance. Supervise children closely and ensure the bottle is free of cracks. Following these guidelines makes the activity both educational and secure.
Q4. Can I use other acids or bases?
Yes, other acids like lemon juice or citric acid can react with baking soda to produce CO₂. The reaction rate and thrust will vary depending on the acid’s strength and concentration. Experimenting with different combinations can be a great way to explore acid‑base chemistry.
Q5. What happens if I overfill the bottle?
Overfilling increases internal pressure, which can cause the bottle to rupture or explode. This poses a safety risk and can damage the launch area. Always use the recommended amounts and test in a controlled environment to prevent accidents.