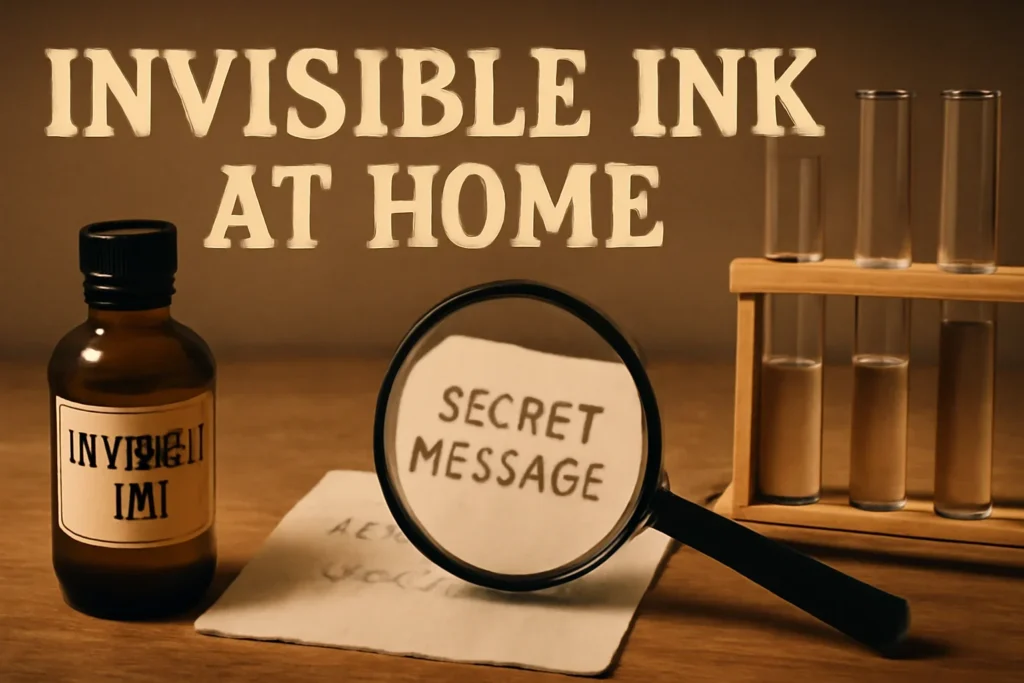
Invisible ink has fascinated people for centuries, from secret spies to playful children’s experiments. By using everyday household items, you can create messages that remain hidden until you apply the right reveal technique. In this guide, we’ll walk through the science behind invisible ink, share safe and simple recipes, and show you how to bring your hidden words to light. Whether you’re planning a surprise party, crafting a mystery game, or just curious about chemistry, this DIY invisible ink tutorial will give you everything you need to get started.
📱 Download Our Apps on Google Play
Click any app below to install it from the Google Play Store.


How Invisible Ink Works
At its core, invisible ink relies on a chemical reaction that changes the appearance of the ink when exposed to heat, light, or another reagent. The ink itself is either colorless or nearly invisible on paper. When you apply a catalyst—such as heat from a light bulb, a flame, or a chemical solution—the ink’s molecules rearrange, producing a visible color or a change in opacity. This simple principle is the same that allowed spies to send covert messages during wartime and that lets you create fun, secret notes at home.
Common Invisible Ink Recipes
Below are three safe, household-friendly recipes that produce reliable invisible ink. Each recipe uses ingredients you can find in most kitchens or grocery stores. Follow the steps carefully, and you’ll have a working invisible ink kit in minutes.
- Citric Acid (Lemon Juice) Ink
- Ingredients: Fresh lemon juice, water, a small bowl, a paintbrush or cotton swab.
- Method: Mix equal parts lemon juice and water. Use the brush to write on a sheet of white paper. Let it dry completely.
- Reveal: Hold the paper near a warm light source (like a lamp) or a low flame. The heat oxidizes the citric acid, turning the writing a light brown color.
- Baking Soda and Vinegar Ink
- Ingredients: 1 tablespoon baking soda, 1 tablespoon white vinegar, water, a small bowl, a paintbrush.
- Method: Dissolve the baking soda in a tablespoon of water. Write on paper with the solution. Let it dry.
- Reveal: Dab a small amount of vinegar onto the dried writing. The acid-base reaction produces a faint yellowish color.
- Milk Ink (Protein-Based)
- Ingredients: 1 cup milk, 1 tablespoon sugar, 1 tablespoon lemon juice, a small bowl, a paintbrush.
- Method: Heat the milk until it’s warm but not boiling. Add sugar and lemon juice, stirring until the mixture thickens slightly. Write on paper with the brush. Allow to dry.
- Reveal: Warm the paper gently with a hair dryer or a warm lamp. The proteins denature, turning the writing a light tan color.
Revealing Your Secret Messages
Once your invisible ink has dried, the next step is to bring your hidden words to light. The method you choose depends on the ink type:
- Heat Reveal – Ideal for lemon juice and milk inks. Use a light bulb, a hair dryer, or a low flame. Keep the heat source at a safe distance to avoid burning the paper.
- Acid Reveal – Works best with baking soda ink. Apply a few drops of vinegar or a mild acid solution to the writing. The reaction will produce a visible color.
- UV Light Reveal – Some invisible inks are designed to fluoresce under ultraviolet light. If you have a UV flashlight, simply shine it over the paper to see the message.
Remember to test a small area first to ensure the reveal method doesn’t damage the paper. Once the message appears, you can copy it, share it with friends, or use it as part of a scavenger hunt.
Safety Tips and Precautions
While invisible ink experiments are generally safe, it’s important to follow a few precautions to protect yourself and your materials:
- Ventilation – When heating paper, do so in a well-ventilated area to avoid inhaling fumes.
- Heat Source Distance – Keep the heat source at least 12 inches from the paper to prevent scorching.
- Allergy Awareness – If you have dairy allergies, avoid the milk ink recipe. Similarly, be cautious with lemon juice if you have citrus sensitivities.
- Supervision for Children – If kids are involved, supervise the heating process and ensure they understand the risks.
By following these guidelines, you can enjoy the fun of invisible ink while staying safe.
Creative Uses for Invisible Ink
Beyond simple secret notes, invisible ink can add a layer of intrigue to a variety of projects:
- Party Invitations – Write a hidden message on the invitation that guests reveal at the door.
- Educational Games – Use invisible ink to create a scavenger hunt for students, teaching them about chemical reactions.
- Art Projects – Combine visible and invisible layers to create dynamic artwork that changes when heated.
- Personal Journals – Keep a secret diary entry that only you can read by applying heat.
These ideas show how versatile invisible ink can be, turning ordinary paper into a canvas for mystery and creativity.
Where to Learn More About the Science
If you’re curious about the chemistry behind invisible ink, the following authoritative resources provide in-depth explanations:
- Invisible Ink – Wikipedia
- Science Journal Article on Chemical Reactions
- National Geographic – Chemistry Basics
- Chemistry World – Professional Journal
Conclusion: Unlock the Secrets Today
Invisible ink offers a simple yet powerful way to add mystery to everyday life. By using common household ingredients and a few safety precautions, you can create and reveal hidden messages that delight friends, engage students, or simply spark your curiosity. Whether you’re planning a themed event, crafting a secret note, or exploring basic chemistry, the techniques outlined above provide a reliable starting point.
Ready to experiment? Grab your ingredients, follow the steps, and let your invisible ink come to life. Share your creations with us on social media using #InvisibleInkDIY, and inspire others to uncover the hidden world of chemistry!
Frequently Asked Questions
Q1. What is invisible ink and how does it work?
Invisible ink is a substance that appears nearly invisible on paper until a catalyst is applied. The ink contains chemicals that react to heat, light, or another reagent, changing color or opacity. This reaction reveals the hidden message, making it a simple yet effective way to send secret notes.
Q2. Which household items can I use to make invisible ink?
You can use lemon juice, baking soda and vinegar, or milk with sugar and lemon juice. These ingredients are safe, inexpensive, and readily available in most kitchens. Each recipe produces a different type of invisible ink that reacts to heat, acid, or UV light.
Q3. How do I safely reveal the hidden message?
Heat the paper with a light bulb, hair dryer, or low flame for lemon and milk inks. For baking soda ink, apply a few drops of vinegar. If you have a UV flashlight, simply shine it over the paper for UV-reactive inks. Always test a small area first to avoid damaging the paper.
Q4. Are there any safety concerns I should be aware of?
Ventilate the area when heating paper to avoid fumes. Keep heat sources at least 12 inches away to prevent scorching. Avoid milk ink if you have dairy allergies and be cautious with lemon juice if you have citrus sensitivities. Supervise children during the heating process.
Q5. Can I use invisible ink for party invitations or educational projects?
Absolutely. Hidden messages on invitations add intrigue, while scavenger hunts or science lessons can use invisible ink to teach chemical reactions. You can also create art projects that change when heated, making learning fun and interactive.
Related Articles

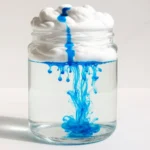
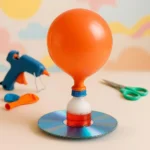
100+ Science Experiments for Kids
Activities to Learn Physics, Chemistry and Biology at Home
Buy now on Amazon
Advanced AI for Kids
Learn Artificial Intelligence, Machine Learning, Robotics, and Future Technology in a Simple Way...Explore Science with Fun Activities.
Buy Now on Amazon
Easy Math for Kids
Fun and Simple Ways to Learn Numbers, Addition, Subtraction, Multiplication and Division for Ages 6-10 years.
Buy Now on Amazon🚀 Try These Free Android Apps
Download these useful apps directly from the Google Play Store.