Let’s face it – the idea of launching a paper rocket is both exhilarating and surprisingly achievable. It’s a fantastic project for kids, a brilliant demonstration of physics principles, and a truly rewarding experience. While a true, high-powered rocket requires complex engineering and materials, building a functional paper rocket launcher is a fantastic way to introduce children to the wonders of aerodynamics, propulsion, and problem-solving. This guide will walk you through the process, from initial design to launching your own miniature rocket. We’ll focus on safety, practicality, and creating a fun, educational experience for everyone involved.
Understanding the Principles Behind Paper Rocket Launching
Before diving into construction, it’s crucial to understand the fundamental principles at play. A paper rocket works by Newton’s Third Law of Motion – every action has an equal and opposite reaction. The rocket’s thrust is generated by the force of the air rushing out of the opening, propelling the rocket upwards. The shape of the rocket, its size, and the angle of launch all significantly impact its performance. A longer, more streamlined design generally produces greater lift and a higher trajectory. Understanding these concepts – thrust, drag, lift, and gravity – will give you a much better grasp of how your launcher works.
Choosing Your Rocket Design
There are numerous paper rocket designs available online. The most common and beginner-friendly is the “Dart” design. This involves creating a simple cone shape with a nozzle at the bottom. You’ll need to consider several factors when choosing your design:
- Size: Larger rockets generally produce more thrust, but are harder to launch accurately.
- Shape: A streamlined shape minimizes drag and increases lift.
- Nozzle Shape: The shape of the nozzle dramatically affects the rocket’s trajectory. A wider, more angled nozzle creates a more pronounced thrust angle.
Experimenting with different designs is encouraged – even small variations can lead to significant performance changes. Start with a simple Dart design and gradually increase complexity as you gain experience.
Materials You’ll Need
Let’s gather the essential materials for your rocket construction. The following are commonly used:
- Paper: Standard printer paper is ideal, but thicker cardstock will provide more durability.
- Scissors or Craft Knife: For cutting and shaping the rocket body. Always use caution when using sharp tools.
- Glue (White Glue or Hot Glue): A strong adhesive to bond the components together. Hot glue offers faster drying times, while white glue provides a stronger hold.
- Ruler: For accurate measurements and cuts.
- Pencil: For marking and sketching your design.
- Optional: Tape (Masking Tape or Duct Tape): For reinforcing joints and adding stability.
Constructing Your Rocket – A Step-by-Step Guide
Now, let’s put the plan into action! Here’s a detailed guide to building your paper rocket:
- Step 1: Design & Sketch: Begin by sketching out your chosen design on a piece of paper. Consider the size and shape of your rocket.
- Step 2: Cut Out the Body: Carefully cut out the body of your rocket from the paper using scissors or a craft knife. Aim for a consistent, even shape.
- Step 3: Create the Nose Cone: The nose cone is critical for stability and directing thrust. Cut a small triangle or square from the paper to form the nose cone. Secure it with glue.
- Step 4: Construct the Body Tube: Cut a rectangular piece of paper to match the dimensions of your rocket body. This will be the main structure.
- Step 5: Attach the Nose Cone & Body Tube: Carefully glue the nose cone and body tube together, ensuring a secure connection. Reinforce the joint with tape if needed.
- Step 6: Create the Launching Hole: Cut a small hole in the bottom of the rocket body. This is where you’ll launch your rocket. The size of the hole will affect the range of your rocket.
Testing and Refinement
Launching your paper rocket is an iterative process. Don’t expect it to fly perfectly on the first try! Here are some tips for improving your rocket’s performance:
- Experiment with Launch Angle: Adjusting the angle at which you launch can dramatically affect the rocket’s trajectory. A steeper angle generally results in a higher, more stable flight.
- Adjust the Nozzle Shape: Slightly widening or angling the nozzle can increase thrust.
- Add Weight to the Nose Cone: Adding small weights (like paper clips) to the nose cone can improve stability and increase range.
- Experiment with Different Paper Types: Using thicker paper will generally produce a more powerful rocket, but it may also be less durable.
Safety Considerations – Launching Responsibly
Launching paper rockets carries inherent risks. Always prioritize safety above all else:
- Never launch near people or fragile objects.
- Launch in an open area away from buildings and trees.
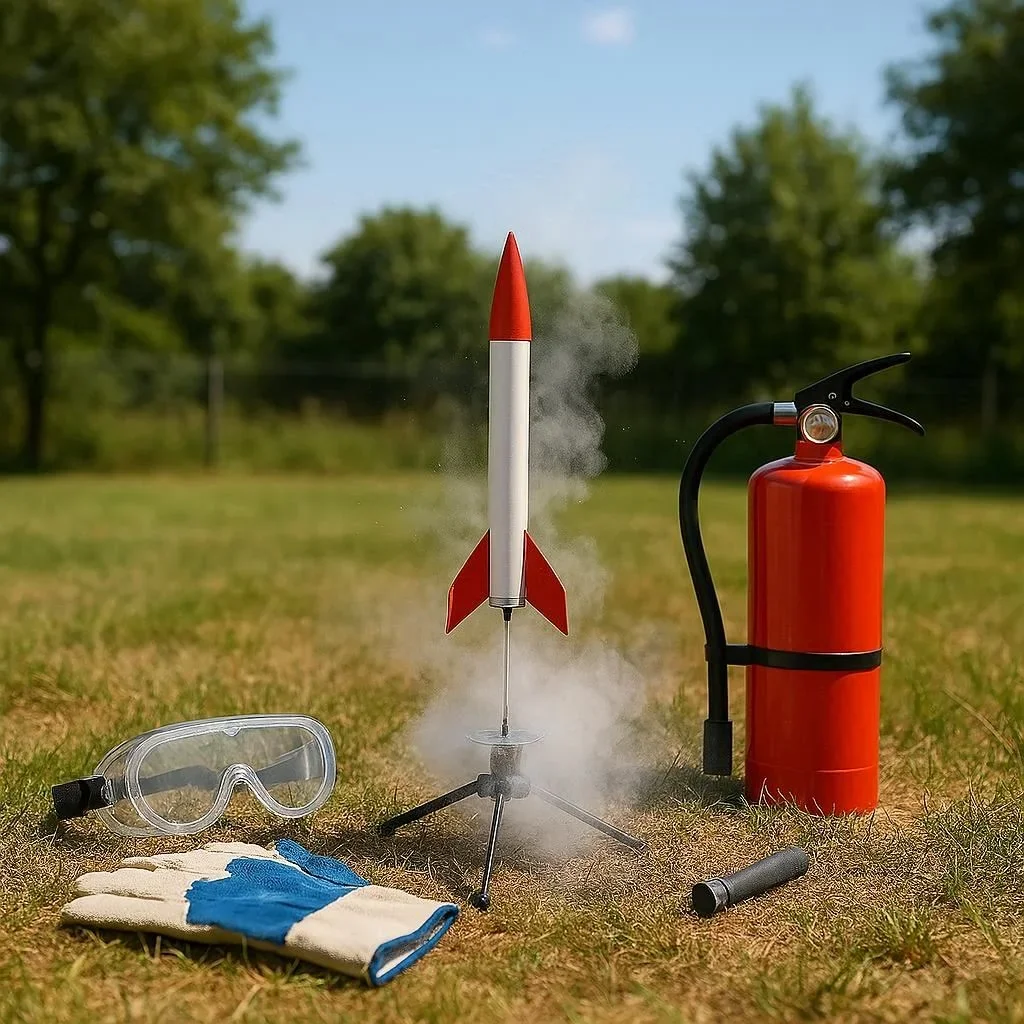
- Use a soft, stable surface for launching (e.g., a grassy field).
- Always supervise children during the construction and launch of rockets.
- Wear eye protection to shield your eyes from potential debris.
Expanding Your Rocket Design
Once you’ve mastered the basics, consider expanding your rocket design. You can experiment with different shapes, sizes, and materials. Consider adding fins to improve stability or incorporating a simple steering mechanism. Explore different types of paper – cardstock offers greater durability but is heavier. Adding small flaps or tabs to the body can also influence flight characteristics.