Floating Ink Art is a mesmerizing technique that turns ordinary ink into ethereal, cloud‑like forms suspended in water. By using simple blowing tools—such as a straw, air pump, or even your own breath—you can control how pigments disperse and settle, creating unique compositions every time. This guide walks you through the essential supplies, step‑by‑step process, and creative variations so you can master the blowing techniques that give this medium its signature floating effect. Whether you are a seasoned painter, an art‑therapy practitioner, or a curious DIY enthusiast, the principles outlined here will help you produce professional‑looking results while enjoying a calming, meditative creative experience.
📱 Download Our Apps on Google Play
Click any app below to install it from the Google Play Store.


Materials Needed for Floating Ink Art
- High‑quality liquid ink or watercolor paint (dark pigments work best for contrast)
- Clear glass or acrylic container (at least 8‑inch depth)
- Distilled or filtered water
- Reusable straw, small air pump, or handheld blower
- Dropper or pipette for precise ink placement
- Protective gloves and a surface cover
Choosing the right ink is crucial; pigments that are fully water‑soluble will spread evenly, while those with additives can create richer textures. For background information on ink chemistry, see the Wikipedia article on Ink. If you prefer an educational perspective, the art departments at Cornell University provide excellent resources on materials and safety.
Preparing the Ink Bath
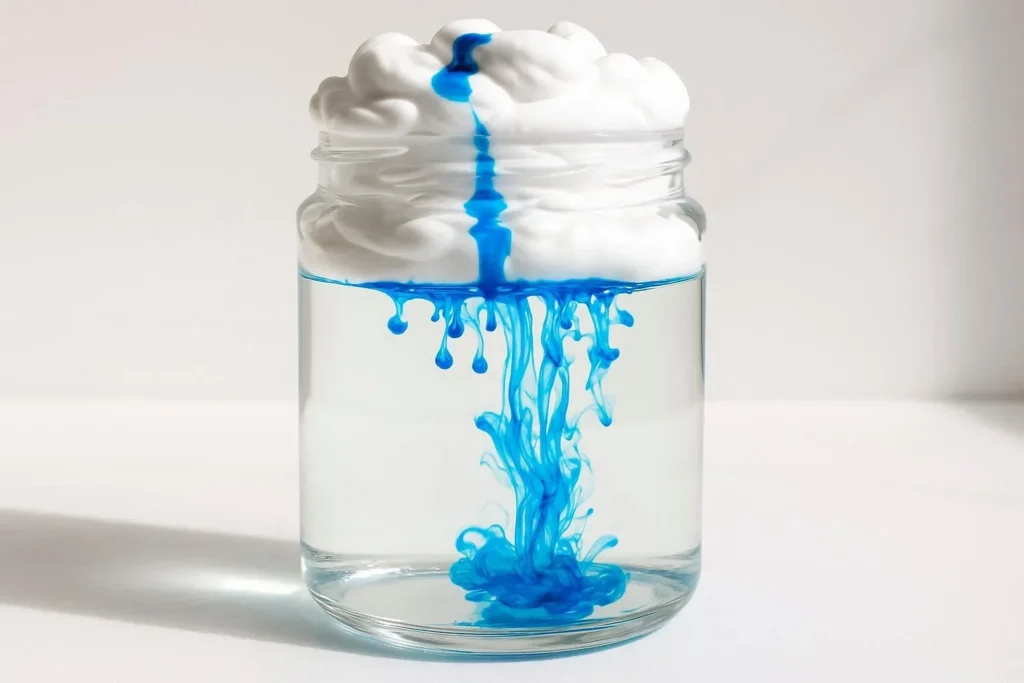
The foundation of any successful Floating Ink Art piece is a calm, still water surface. Fill your container with room‑temperature distilled water to a depth of about 4–5 cm. Allow the water to settle for a minute, ensuring there are no ripples. Then, using a dropper, add small droplets of ink at various points across the surface. The droplets will sink and begin to spread; the timing of your first breath is critical. Too early, and the ink may not have formed a cohesive “ink ball,” too late, and it may have already dispersed beyond control.
For a scientific look at fluid dynamics, the NASA Fluid Experiments page offers insights into how air currents interact with liquids—a principle directly applicable to blowing techniques.
Mastering the Blowing Technique
Once you have a visible ink sphere, gently introduce air. Hold a straw just above the surface, aiming toward the ink droplet, and exhale softly. The air pressure will push the ink outward, forming a delicate, floating pattern. Adjust the strength and angle of your breath to achieve different effects: a quick, firm blow creates sharp, radiating lines; a slow, steady stream produces soft, expanding circles.
Experiment with tools: a small hand‑held air pump provides more consistent pressure than a human breath, which is useful for reproducing specific designs. Remember to keep the container stable—any shaking will disturb the delicate balance of ink and water.
Creative Variations and Advanced Ideas
After you feel comfortable with basic blowing, explore advanced variations to expand your artistic repertoire:
- Layered Colors: Add ink droplets of different hues sequentially, allowing each layer to float before blowing the next. The overlapping pigments create unexpected color blends.
- Salt Interaction: Sprinkle fine sea salt onto the water surface after the ink settles. The salt crystals react with the ink, forming crystalline patterns that can be blown into spirals.
- Light Play: Position a desk lamp or LED light beneath a translucent container. The illuminated ink becomes luminous, adding depth to the floating forms.
- Thermal Effects: Warm the water slightly (30‑35 °C) to increase diffusion speed, then cool it with an ice cube after blowing. The temperature shift creates intriguing ripple‑like textures.
These variations align with principles discussed in the American Art Therapy Association, which highlights the therapeutic benefits of experimental media.
Safety, Clean‑up, and Preservation
Floating Ink Art involves liquids and fine particles, so safety is essential. Wear gloves to protect skin from pigments that may cause irritation. Work on a covered surface to prevent spills, and keep the room well‑ventilated if you use aerosolized tools.
After completing a piece, you may want to preserve it. Gently pour the water onto a clean, flat surface with a smooth plastic sheet. Allow the ink to dry completely—this can take several hours depending on humidity. Once dried, the artwork can be lifted and framed under glass. For further guidance on art preservation, consult the Library of Congress Preservation page.
Conclusion: Bring Your Imagination to Life
Floating Ink Art invites you to blend scientific curiosity with artistic expression. By mastering blowing techniques, you gain control over how pigments dance and settle, turning a simple container of water into a living canvas. Whether you are creating decor, exploring therapeutic practice, or simply enjoying a hands‑on experiment, the possibilities are limitless. Ready to start your own floating masterpiece? Gather your supplies, follow the steps above, and watch your ideas take shape—literally—in mid‑air.

100+ Science Experiments for Kids
Activities to Learn Physics, Chemistry and Biology at Home
Buy now on Amazon
Advanced AI for Kids
Learn Artificial Intelligence, Machine Learning, Robotics, and Future Technology in a Simple Way...Explore Science with Fun Activities.
Buy Now on Amazon
Easy Math for Kids
Fun and Simple Ways to Learn Numbers, Addition, Subtraction, Multiplication and Division for Ages 6-10 years.
Buy Now on Amazon🚀 Try These Free Android Apps
Download these useful apps directly from the Google Play Store.


