The Pulsating Glow Stick Reaction is a captivating demonstration that blends chemistry, physics, and a touch of theatrical flair. By carefully controlling the rate at which the chemiluminescent solution mixes with a catalyst, you can create a glow that brightens, dims, and brightens again in a rhythmic pattern. This article walks you through the science behind the effect, the materials you’ll need, step‑by‑step instructions, safety precautions, and troubleshooting tips so you can recreate the pulsating glow stick reaction confidently and safely.
📱 Download Our Apps on Google Play
Click any app below to install it from the Google Play Store.


Understanding the Chemistry Behind Glow Sticks
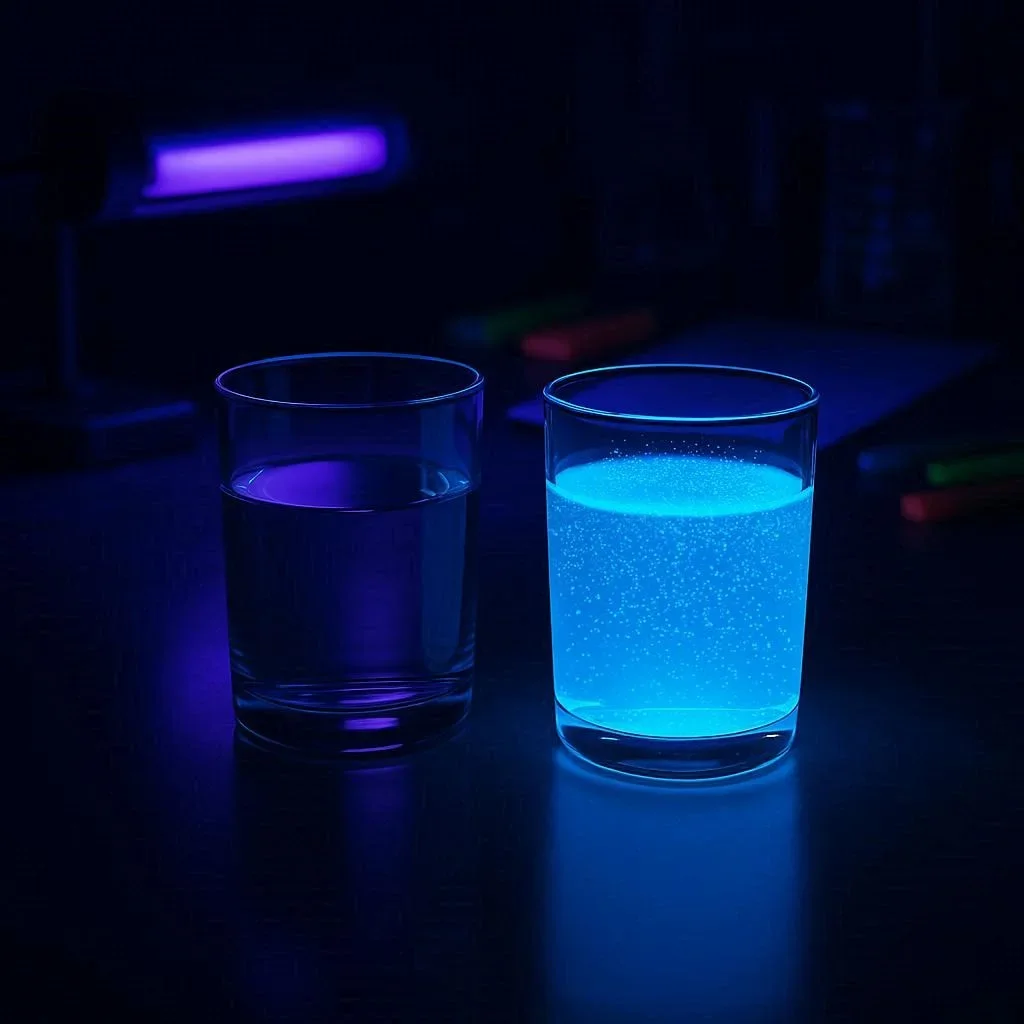
Glow sticks rely on a process called chemiluminescence, where chemical energy is converted directly into light without generating heat. The classic glow stick contains three primary components: a hydrogen peroxide solution (the oxidizer), a phenyl oxalate ester (the energy‑rich substrate), and a fluorescent dye (the colorant). When the inner glass capsule holding the hydrogen peroxide is broken, the oxidizer mixes with the ester, producing an unstable peroxyacid that decomposes and excites the dye molecules, causing them to emit visible light.
For a Pulsating Glow Stick Reaction, the goal is to modulate the reaction rate rather than letting it run to completion uninterrupted. By adding a secondary catalyst that can be introduced or removed in a controlled manner—often a weak base such as sodium bicarbonate dissolved in water—you can create intervals of accelerated and slowed light emission, resulting in a pulsating glow.
Materials and Equipment Needed
Gather the following items before you begin. All chemicals are readily available from reputable scientific supply stores or online retailers. Use only high‑purity reagents and follow local regulations for chemical handling.
- Hydrogen peroxide solution (30% w/w, food‑grade or laboratory‑grade).
- Bis(2,4,6‑trimethylbenzoyl) phenyl oxalate (TCPO) – the ester component.
- Fluorescent dye (e.g., 9,10‑diphenylanthracene for blue, rhodamine B for red).
- Sodium bicarbonate (baking soda) – secondary catalyst.
- Distilled water.
- Two transparent plastic tubes (10‑15 cm long) with screw caps.
- Glass dropper or syringe for precise liquid transfer.
- Protective gloves, goggles, and a lab coat.
- Timer or metronome to keep pulse intervals consistent.
Step‑by‑Step Procedure for a Pulsating Effect
- Prepare the base solution. In a well‑ventilated area, mix 5 mL of the hydrogen peroxide with 2 mL of distilled water in a small beaker. This dilutes the peroxide to a safer concentration while retaining sufficient oxidizing power.
- Create the chemiluminescent mixture. In a separate container, dissolve 0.5 g of TCPO in 3 mL of a suitable organic solvent such as ethyl acetate. Add 0.1 g of your chosen fluorescent dye and stir until fully dissolved.
- Assemble the reaction chamber. Fill one plastic tube with the diluted peroxide solution (about 7 mL). In the second tube, pour the TCPO‑dye solution (approximately 3 mL). Seal both tubes tightly.
- Initiate the glow. Quickly snap the second tube into the first, allowing the two liquids to mix. The mixture will begin to glow steadily within seconds.
- Introduce the pulsating catalyst. Using a dropper, add 0.2 mL of a 5% sodium bicarbonate solution to the mixture. The base accelerates the decomposition of the peroxyacid, causing a brief surge in brightness.
- Create the pulse cycle. After 30 seconds, add an equal amount of distilled water to dilute the base, slowing the reaction and dimming the glow. Repeat the add‑base/add‑water cycle every minute for the desired duration.
- Observe and record. Use a timer to keep the pulse intervals consistent. You can photograph the effect with a long‑exposure camera to capture the rhythmic light changes.
For a smoother pulsation, experiment with the concentration of the sodium bicarbonate solution or the timing of each addition. Too much base will overwhelm the system, producing a constant bright glow, while too little will result in barely noticeable pulses.
Safety Precautions and Best Practices
Although the chemicals used in a glow stick are generally low‑risk, they can irritate skin, eyes, and respiratory membranes. Follow these safety guidelines:
- Always wear nitrile gloves, safety goggles, and a lab coat.
- Work in a fume hood or well‑ventilated area, especially when handling concentrated hydrogen peroxide.
- Store peroxide in a cool, dark place away from organic solvents.
- Dispose of spent solutions according to local hazardous waste regulations; do not pour them down the drain.
- Keep a container of sodium thiosulfate or a commercial peroxide neutralizer nearby in case of accidental spills.
For more detailed chemical safety information, consult the Occupational Safety and Health Administration (OSHA) chemical database and the PubChem entry on hydrogen peroxide.
Troubleshooting Common Issues
Even with careful preparation, the pulsating glow stick reaction can encounter hiccups. Below are typical problems and their solutions:
- No glow at all. Verify that the TCPO and dye are fully dissolved. Incomplete dissolution can prevent chemiluminescence. Also, ensure the peroxide concentration is adequate; aged peroxide loses potency.
- Glow is weak or dim. Increase the amount of fluorescent dye slightly (up to 0.15 g). Ensure the reaction chamber is sealed well to prevent oxygen loss, which can dampen the reaction.
- Pulses are irregular. Use a digital timer or metronome to keep addition intervals consistent. Slight variations in the volume of added base or water can cause irregularities.
- Excessive heating. While chemiluminescence is low‑heat, large volumes of peroxide can generate warmth. Reduce the total reaction volume or lower the peroxide concentration.
For a deeper dive into the photophysics of chemiluminescence, see the Wikipedia article on chemiluminescence, which explains the energy transfer mechanisms in detail.
Expanding the Experiment: Creative Variations
Once you master the basic pulsating glow stick reaction, you can explore several exciting extensions:
- Color mixing. Combine two dyes in separate tubes and initiate simultaneous reactions. The overlapping pulses create dynamic color shifts.
- Temperature control. Conduct the reaction in a chilled water bath to slow the baseline glow, making each pulse more pronounced.
- Electrical triggering. Replace the manual addition of sodium bicarbonate with a micro‑pump controlled by a microcontroller (e.g., Arduino). This allows programmable pulse patterns for artistic installations.
Educational institutions often use these variations to teach concepts ranging from reaction kinetics to electronics integration. The NASA glow stick experiment archive showcases how astronauts conduct similar demonstrations in microgravity.
Conclusion and Next Steps
Creating a Pulsating Glow Stick Reaction offers a vivid illustration of chemiluminescence, reaction kinetics, and the art of controlled chemical excitement. By following the detailed protocol, respecting safety guidelines, and experimenting with variables such as catalyst concentration and timing, you can produce a mesmerizing rhythmic glow that captivates audiences of all ages.
Ready to light up your next science showcase? Gather the materials, follow the steps, and share your results on social media with the hashtag #PulsatingGlow. Your feedback helps refine the method and inspires others to explore the intersection of chemistry and creativity. If you have questions or need further guidance, feel free to contact our experts for personalized support.

100+ Science Experiments for Kids
Activities to Learn Physics, Chemistry and Biology at Home
Buy now on Amazon
Advanced AI for Kids
Learn Artificial Intelligence, Machine Learning, Robotics, and Future Technology in a Simple Way...Explore Science with Fun Activities.
Buy Now on Amazon
Easy Math for Kids
Fun and Simple Ways to Learn Numbers, Addition, Subtraction, Multiplication and Division for Ages 6-10 years.
Buy Now on Amazon🚀 Try These Free Android Apps
Download these useful apps directly from the Google Play Store.


