Ever dreamed of launching a homemade rocket that soars high into the sky, powered solely by compressed air? A Air-Powered Bottle Rocket is a thrilling, educational project that blends physics, engineering, and pure fun. In this guide, we’ll walk you through the materials, step‑by‑step assembly, safety precautions, and performance tweaks that will help you create a rocket that flies farther and faster than you expect.
Air-Powered Bottle Rocket Materials
Choosing the right components is the foundation of a successful launch. Below is a concise list of the essential items you’ll need:
- 1‑liter plastic soda bottle – the main body of the rocket.
- Plastic or metal nozzle – a small pipe or tube that directs the escaping air.
- Rubber stopper or cork – seals the bottle’s mouth.
- Compressed air source – a hand pump or a bicycle pump with a pressure gauge.
- Launch pad or stand – to hold the rocket upright during launch.
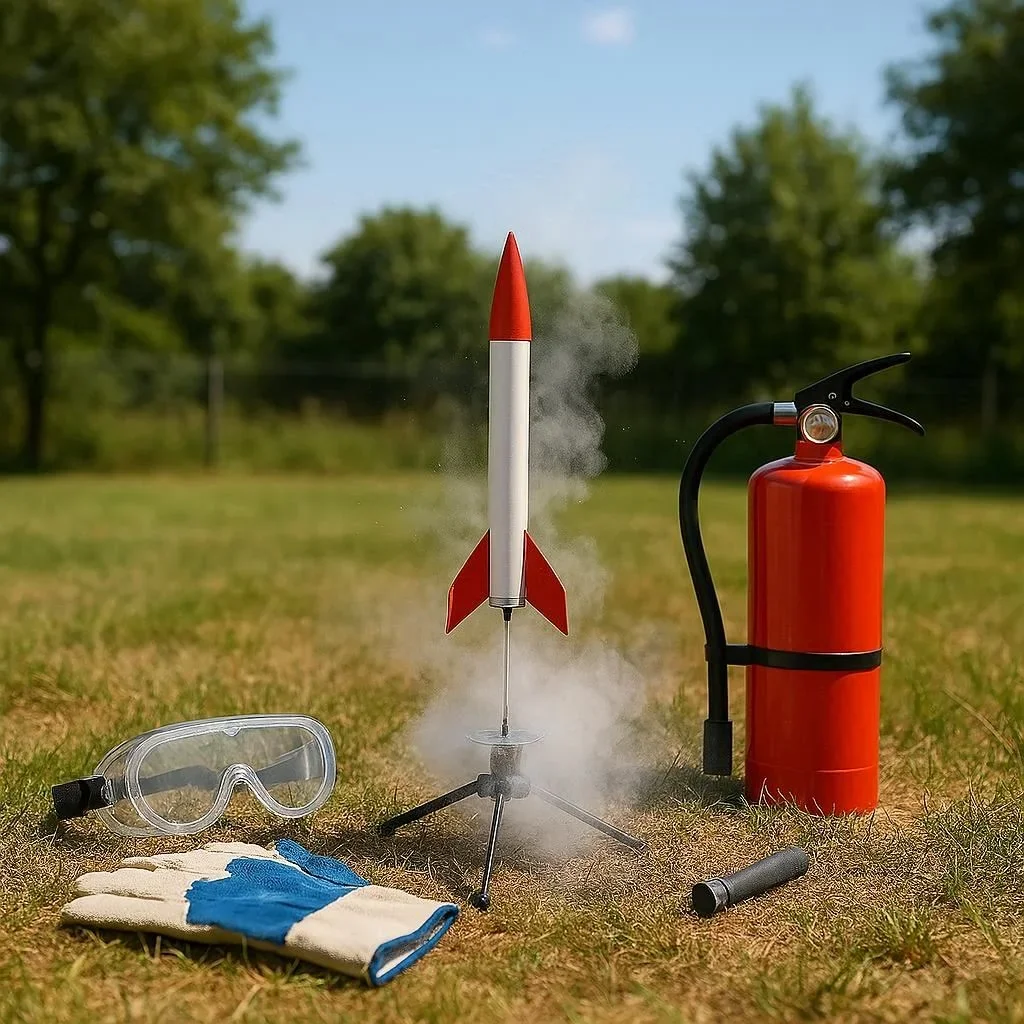
- Safety gear – goggles, gloves, and a protective face shield.
- Optional fins – small pieces of cardboard or plastic to stabilize flight.
For more detailed information on the physics behind bottle rockets, check out the Wikipedia entry on Bottle Rockets. The NASA Rocket Science 101 page also offers a great overview of how air pressure propels these rockets.
Step-by-Step Assembly Guide for Air-Powered Bottle Rocket
Follow these steps carefully to build a reliable and safe rocket:
- Prepare the bottle: Clean the soda bottle thoroughly and remove any labels. Ensure the cap is intact and the bottle is free of cracks.
- Attach the nozzle: Insert the plastic or metal nozzle into the bottle’s mouth. The nozzle should fit snugly but allow the stopper to seal the opening.
- Insert the stopper: Place the rubber stopper or cork into the nozzle. This will act as a pressure seal during launch.
- Add fins (optional): Cut three or four fins from cardboard or plastic and attach them to the bottle’s lower section with tape or glue. Fins help maintain a stable trajectory.
- Set up the launch pad: Position the rocket on a sturdy stand or a flat surface. Ensure the launch area is clear of obstacles and people.
- Connect the air source: Attach the compressed air hose to the nozzle. Use a pressure gauge to monitor the air pressure.
- Pressurize the rocket: Pump air into the bottle until you reach the desired pressure (typically 30–40 psi). Never exceed the bottle’s rated pressure to avoid rupture.
- Launch!: Quickly remove the stopper, allowing the pressurized air to escape and propel the rocket upward.
For a visual walkthrough, the Science Buddies guide provides step‑by‑step photos and safety reminders.
Safety Tips for Launching Air-Powered Bottle Rocket
Safety should always be your top priority. Here are key precautions to keep in mind:
- Wear protective eyewear to shield your eyes from debris.
- Use a face shield if you’re launching in a confined space.
- Keep a safe distance – at least 10 meters away from the launch site.
- Check the bottle’s integrity before each launch; replace any cracked or weakened bottles.
- Never exceed the recommended pressure – consult the bottle’s specifications or the U.S. government air pressure guidelines for safe limits.
- Have a fire extinguisher nearby in case of accidental ignition.
These guidelines align with the safety standards outlined by the NASA Rocket Science 101 program, ensuring a responsible and enjoyable experience.
Optimizing Performance and Flight Path of Air-Powered Bottle Rocket
Once you’ve mastered the basics, you can fine‑tune your rocket for maximum altitude and distance. Consider the following adjustments:
- Weight distribution – add a small weight to the bottom of the bottle to improve stability.
- Fin design – experiment with fin shape and angle to reduce drag and increase lift.
- Nozzle length – a longer nozzle can provide a more efficient thrust, but too long may reduce pressure.
- Launch angle – aim for a 45‑degree angle to balance height and range.
- Pressure control – use a pressure regulator to maintain consistent launch pressure across trials.
For a deeper dive into the aerodynamics of bottle rockets, the ScienceDirect article on rocket aerodynamics offers advanced insights that can help you refine your design.
Conclusion: Take Your Air-Powered Bottle Rocket to New Heights
Building an Air-Powered Bottle Rocket is more than a fun hobby—it’s a hands‑on lesson in physics, engineering, and safety. By selecting the right materials, following a meticulous assembly process, observing strict safety protocols, and experimenting with performance tweaks, you can create a rocket that not only flies but also inspires curiosity and learning.
Ready to launch? Grab your bottle, pump up the air, and let the sky be your limit. Share your launch photos and results with us, and keep exploring the exciting world of rocketry!
Frequently Asked Questions
Q1. What materials do I need to build an Air-Powered Bottle Rocket?
A 1‑liter plastic soda bottle, a plastic or metal nozzle, a rubber stopper or cork, a hand or bicycle pump with a pressure gauge, a launch stand, safety gear (goggles, gloves, face shield), and optional fins made of cardboard or plastic. Clean the bottle thoroughly and remove any labels or cracks before use. The nozzle should fit snugly but allow the stopper to seal the opening. Fins help stabilize the flight, and a pressure gauge ensures you stay within safe limits. With these components you’ll have everything required for a safe and successful launch.
Q2. How do I pressurize the rocket safely?
Attach the compressed air hose to the nozzle and use a hand pump or bicycle pump equipped with a pressure gauge. Pump air until you reach 30–40 psi, which is typically the safe range for a 1‑liter bottle. Never exceed the bottle’s rated pressure; consult the manufacturer’s specifications or the U.S. government air pressure guidelines for limits. Keep the pump steady and monitor the gauge continuously to avoid over‑pressurization. Once the desired pressure is reached, you’re ready for launch.
Q3. What safety precautions should I follow during launch?
Always wear protective eyewear and a face shield, especially in confined spaces. Keep a safe distance of at least 10 meters from the launch site and ensure the area is clear of obstacles and people. Inspect the bottle for cracks or weaknesses before each launch and replace it if necessary. Have a fire extinguisher nearby in case of accidental ignition, and never exceed the recommended pressure. Following these steps aligns with NASA’s safety standards for homemade rockets.
Q4. How can I improve the rocket’s flight distance and altitude?
Adding a small weight to the bottom of the bottle improves stability and helps maintain a straight trajectory. Experiment with fin shape and angle to reduce drag and increase lift. A longer nozzle can provide more efficient thrust, but too long may reduce pressure; find the optimal length through trial. Aim for a launch angle of about 45° to balance height and range. Using a pressure regulator ensures consistent launch pressure across trials, leading to more predictable performance.
Q5. Can I reuse the bottle after a launch?
Yes, but only if the bottle shows no cracks, dents, or signs of wear. Thoroughly clean the bottle to remove any residue and ensure it’s completely dry before re‑pressurizing. Check the integrity of the stopper and nozzle each time you reuse the rocket. Reusing a bottle is safe as long as you follow the same safety precautions and never exceed the recommended pressure. This practice helps reduce waste and keeps the hobby sustainable.

