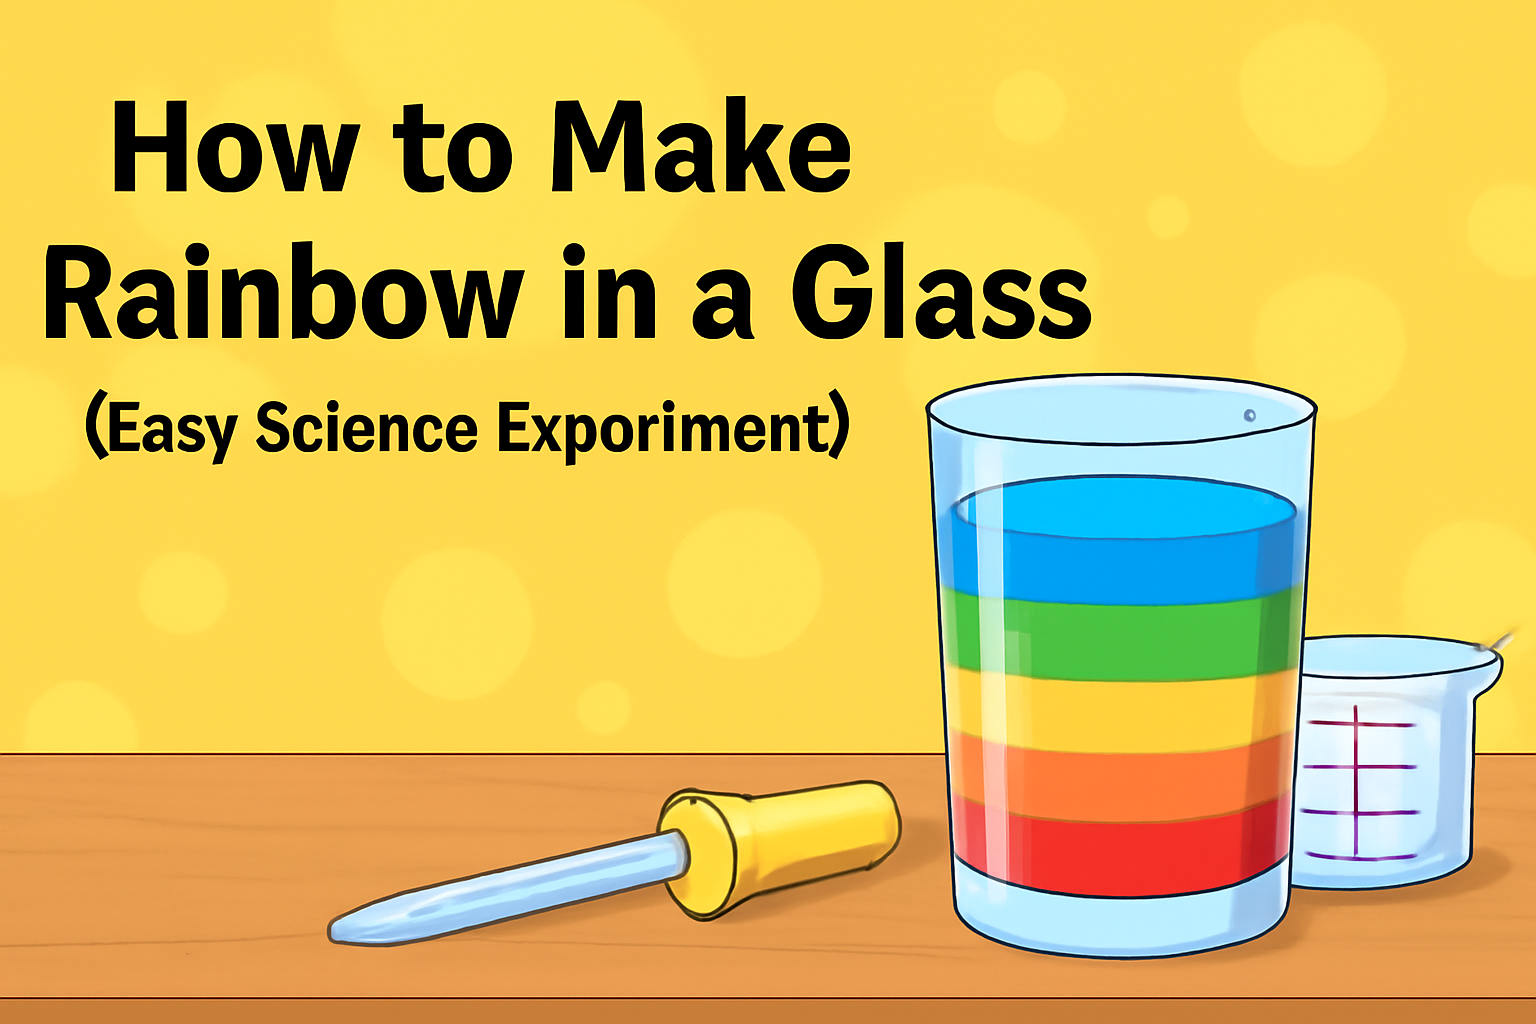
Have you ever seen a jar filled with colorful, immiscible liquids that create a mesmerizing rainbow effect? A rainbow density jar is a stunning visual experiment that showcases the concept of density in a fun and creative way. This DIY project is perfect for science enthusiasts, homeschoolers, parents, or anyone looking for a unique and educational activity. In this blog post, we’ll guide you through the process of creating your own rainbow density jar, ensuring that the layers remain intact and don’t mix.
What is a Density Jar?
A density jar is a container filled with multiple layers of liquids or liquids mixed with solids, each with a different density. The concept relies on the principle that substances with different densities will separate into distinct layers when placed in the same container. The denser the substance, the lower it will settle in the jar. This phenomenon creates a colorful, layered effect that’s both fascinating and educational.
Materials Needed
To create your rainbow density jar, you’ll need the following materials:
- A tall, clear glass or plastic jar with a wide mouth (like a mason jar or an empty soda bottle).
- Vegetable oil (for the top layer).
- Water.
- Honey or corn syrup (for a thick, slow-moving layer).
- Salt.
- Food coloring (red, orange, yellow, green, blue, and purple).
- Optional: Glitter, small beads, or sand.
- Measuring cups or spoons.
- Stirring stick or spoon.
- Paper towels or a cloth.
Notes on Ingredients
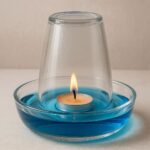
- Vegetable oil is less dense than water, making it perfect for the top layer.
- Honey or corn syrup adds viscosity and creates a beautiful, slow-moving layer.
- Salt increases the density of water, making it heavier than the oil and honey layers.
- Food coloring brings the rainbow effect to life.
- Optional additives like glitter or beads add an extra visual appeal.
Step-by-Step Guide to Creating Your Rainbow Density Jar
Step 1: Prepare the Jar
Start by thoroughly cleaning and drying your jar. A clean, dry jar ensures that the substances won’t mix prematurely and will create clear, distinct layers.
Step 2: Mix the Densest Layer
The first layer you’ll create is the densest, which will settle at the bottom of the jar. For this layer, you’ll need to mix salt with water. Dissolve 2-3 tablespoons of salt into 1 cup of hot water. Stir until the mixture is clear and all the salt is dissolved. Once the mixture is ready, add a few drops of food coloring (purple or blue) to tint this layer.
Pour this mixture into the bottom of your jar.
Step 3: Create the Next Layer
Next, you’ll create a layer using corn syrup or honey. Since corn syrup and honey are naturally thick and dense, they will settle above the saltwater layer. To enhance the color, add a few drops of yellow food coloring to the corn syrup or honey. Mix well and carefully pour this layer over the saltwater layer. Move slowly to avoid mixing the layers.
Step 4: Add the Water Layer
Now it’s time to create a layer using plain water. Add a few drops of green or blue food coloring to the water and mix well. Pour this layer over the corn syrup or honey layer. Be gentle to avoid disturbing the layers below.
Step 5: Pour in the Vegetable Oil
Finally, pour vegetable oil into the jar. Since vegetable oil is less dense than water, it will float on top, creating the final layer. To make this layer more vibrant, you can add a few drops of red or orange food coloring to the vegetable oil before pouring it into the jar.
Step 6: Add Optional Additives
If you’re using glitter, beads, or sand, now is the time to add them to the jar. Simply sprinkle them over the top layer or gently mix them into specific layers for a more dynamic effect.
Step 7: Seal and Display
Once all layers are in place, seal your jar tightly with a lid. Shake the jar gently to observe how the layers move and interact. For a more dramatic effect, place the jar on a light-colored surface or under a bright light to showcase the colors.
The Science Behind the Rainbow Density Jar
The rainbow density jar works based on the principle of density, which is defined as the mass of a substance per unit volume. The greater the density, the heavier the substance and the lower it will settle in the jar. Here’s how each layer behaves:
- Vegetable Oil – least dense, floats on top.
- Water – denser than oil but less dense than other liquids.
- Honey or Corn Syrup – thick and heavy, settling below the oil but above the denser saltwater.
- Saltwater – most dense, resting at the bottom of the jar.
This experiment is a great way to demonstrate the concept of density in a visually engaging manner. It’s also a fun way to introduce kids to basic physics and chemistry principles.
Tips and Variations
- Use a variety of liquids: Experiment with different liquids like juice, soda, or even beer to create unique layers.
- Add a theme: Create a themed jar by using holiday colors or themed additives like small plastic Easter eggs or glow-in-the-dark beads.
- Experiment with quantities: Adjust the amount of salt, honey, or food coloring to see how it affects the layers.
- Create a lava lamp effect: Add an effervescent tablet or fizzy candy to the jar to create bubbles that rise through the layers.
- Make it glow-in-the-dark: Add glow sticks or glow-in-the-dark paint to the jar for an eerie effect.
Educational Benefits
Creating a rainbow density jar is more than just a fun DIY project; it also offers several educational benefits:
- Learning about density: The experiment provides a hands-on way to understand the concept of density and how it affects substances.
- Color mixing: By adding food coloring, kids can learn about primary and secondary colors and how they mix.
- Scientific method: This project encourages critical thinking and experimentation, key components of the scientific method.
- Creativity: The ability to customize the jar’s layers and additives fosters creativity and personal expression.
Conclusion
A rainbow density jar is a captivating and educational project that’s perfect for all ages. With just a few simple ingredients, you can create a stunning visual display that teaches the concept of density in an engaging way. Whether you’re a teacher looking for a classroom activity or a parent seeking a fun project to do with your kids, this DIY density jar is guaranteed to impress and educate.
So gather your materials, get creative, and start building your own rainbow density jar today! Don’t forget to share your creation with friends and family, and enjoy the colorful, layered masterpiece you’ve created.