Create a Homemade Thermometer: Tracking Temperature Like a Scientist
Have you ever wondered how to measure temperature without using a store-bought thermometer? Whether you’re a science enthusiast, a parent looking for a fun DIY project, or a student curious about the principles of temperature measurement, creating a homemade thermometer can be an engaging and educational experience. In this blog post, we’ll guide you through the process of making a simple, functional thermometer using common household items. By the end of this project, you’ll not only have a working thermometer but also a deeper understanding of how temperature measurement works.
Understanding Thermometers: The Basics
Before diving into the DIY process, it’s important to understand the basic principles behind thermometers. A thermometer is a device used to measure the temperature of a substance or environment. Most thermometers work by expanding or contracting a liquid or gas within a sealed tube in response to changes in temperature. This expansion or contraction allows us to read the temperature on a scale, typically in Celsius or Fahrenheit.
While modern thermometers are highly accurate and rely on advanced materials, the core principle remains the same: a temperature-sensitive substance that changes its volume with temperature variations. For our homemade thermometer, we’ll use a similar principle but with materials you can easily find at home.
Materials Needed
To create your homemade thermometer, you’ll need the following materials:
- A clear plastic or glass bottle with a tight-fitting lid (like an empty water bottle)
- A smaller glass tube or straw (the taller, the better)
- Water
- Food coloring (any color of your choice)
- Vegetable oil
- Alcoholic beverage (such as ethanol or isopropyl alcohol, but use caution and adult supervision)
- A scale or ruler
- A marker or pen
- Optional: Glue or tape
Step-by-Step Instructions
-
Prepare the Bottle
Start by cleaning and drying the plastic or glass bottle thoroughly. Remove any labels and ensure the bottle is completely dry. This will help prevent any condensation from interfering with your thermometer. -
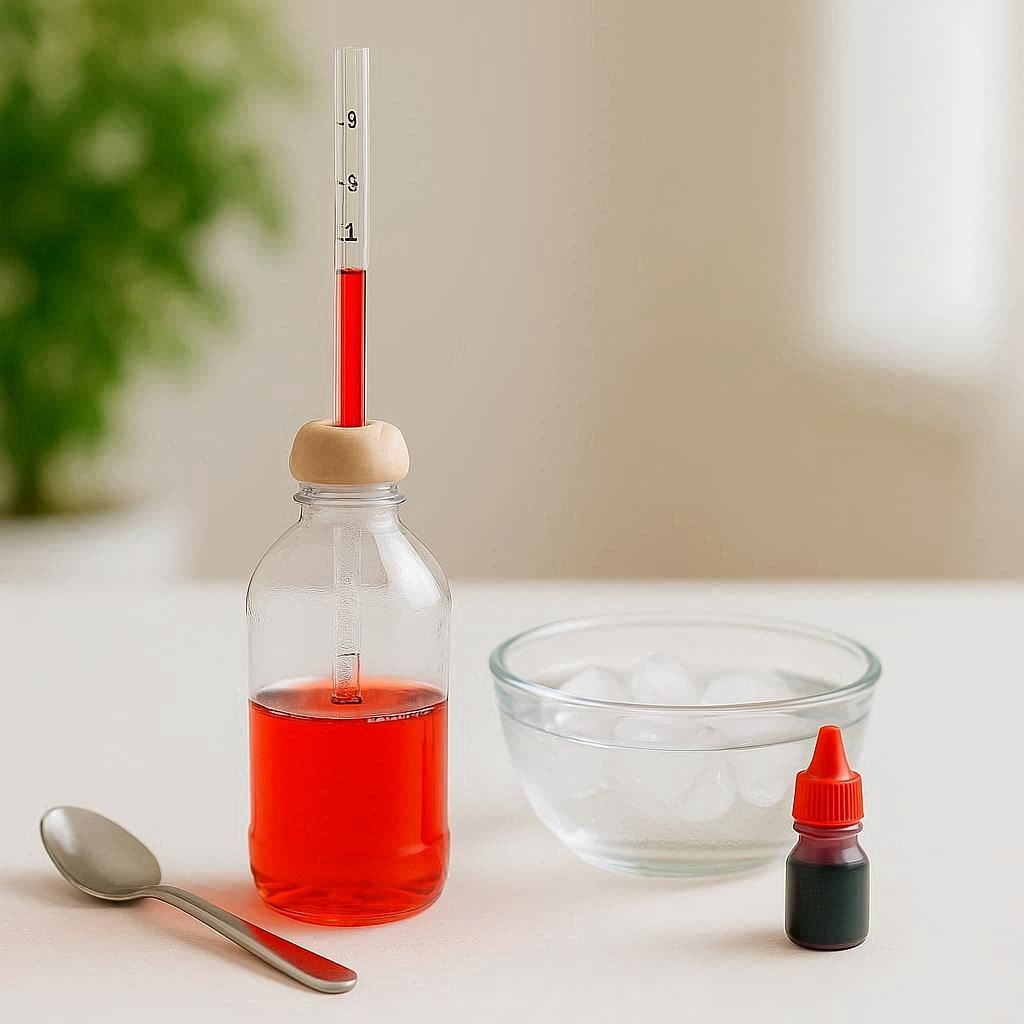
Create the Temperature-Sensitive Column
Fill the smaller glass tube or straw with vegetable oil. The oil will act as the temperature-sensitive medium. Since oil expands and contracts with temperature changes, it will rise and fall within the tube as the temperature changes. Secure the tube by taping or gluing it to the inside of the bottle’s lid, ensuring it doesn’t move around. -
Add the Water and Food Coloring
Next, fill the bottle about halfway with water. Add a few drops of food coloring to the water to make it easier to see the oil level. Stir well to ensure the color is evenly distributed. -
Add the Oil and Alcohol Mixture
Pour the vegetable oil into the glass tube or straw, leaving about an inch at the top. Add a small amount of alcohol to the oil. The alcohol will help the oil move more smoothly and respond more quickly to temperature changes. Stir gently to mix the oil and alcohol. -
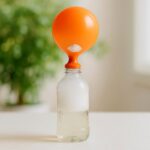
Seal the Bottle
Place the lid with the glass tube onto the bottle, creating a tight seal. Shake the bottle gently to ensure the oil and water layers are distinct. -
Calibrate Your Thermometer
To make your thermometer accurate, you’ll need to calibrate it. Fill a separate container with ice water and let it sit for a few minutes. Place your thermometer in the ice water and mark the level of the oil in the tube with a marker. This will be your 0°C (or 32°F) mark.
Next, fill another container with boiling water and place your thermometer in it. Mark the new level of the oil in the tube. This will be your 100°C (or 212°F) mark.
Using a ruler, mark the scale between these two points to create a temperature gradient. You can divide the space between 0°C and 100°C into equal parts to create a scale that allows you to read the temperature accurately.
- Test Your Thermometer
Once calibrated, test your thermometer by placing it in different environments, such as a cool room, a warm room, or even the refrigerator. Observe how the oil level changes with temperature variations.
How It Works: The Science Behind the Thermometer
Now that you’ve created your homemade thermometer, it’s time to understand the science behind it. The principle behind this simple device is rooted in the expansion and contraction of liquids with temperature changes.
When the temperature rises, the vegetable oil inside the glass tube expands, causing it to rise. Conversely, when the temperature drops, the oil contracts and falls. This movement of the oil level allows us to measure the temperature changes in the surrounding environment.
The alcohol added to the oil helps to make the movement smoother and more responsive. Alcohol has a lower viscosity than oil, allowing it to move more freely within the tube. This makes the thermometer more sensitive to temperature changes.
Safety Tips and Precautions
When working with materials like alcohol and hot water, it’s important to take safety precautions to avoid accidents. Here are some tips to keep in mind:
- Always handle hot water and boiling water with care. Use oven mitts or tongs to prevent burns.
-C enlarged safety, especially if children are involved. - If you’re using a glass bottle or tube, handle it with care to avoid breakage.
- Keep the thermometer away from open flames or heat sources, as the alcohol could ignite.
Limitations of a Homemade Thermometer
While your homemade thermometer can provide a basic understanding of temperature changes, it has some limitations compared to store-bought thermometers. Here are a few things to keep in mind:
- Accuracy: Homemade thermometers may not be as accurate as commercial thermometers, which are designed for precise measurements.
- Sensitivity: The oil and alcohol mixture may not respond as quickly to temperature changes as more advanced materials.
- Range: The temperature range of your homemade thermometer will be limited by the materials used. For example, the oil and alcohol mixture may not freeze or boil at the same points as water, limiting the usable range.
Digital vs. Homemade Thermometers: Which is Better?
In today’s world, digital thermometers are widely available and offer high accuracy, quick response times, and a wide temperature range. However, there are still benefits to creating a homemade thermometer:
- Cost-Effective: All the materials needed to create a homemade thermometer are inexpensive and easily accessible.
- Educational Value: Building a homemade thermometer provides a hands-on learning experience about the principles of temperature measurement.
- Fun and Creative: This project is a great way to engage children in science and encourage their curiosity about the world around them.
The Educational Significance of DIY Projects
DIY projects like creating a homemade thermometer are not just fun; they also offer valuable educational benefits. By engaging in hands-on activities, students can gain a deeper understanding of scientific concepts and develop critical thinking skills. Here are some ways this project can benefit learners:
- Understanding Scientific Principles: This project introduces students to the concept of thermal expansion and contraction, a fundamental principle in physics and chemistry.
- Encourages Curiosity: Hands-on activities like this one spark curiosity and encourage students to ask questions and explore the world around them.
- Develops Problem-Solving Skills: DIY projects often require troubleshooting and problem-solving, essential skills for any STEM-related field.
- Promotes Creativity: Using everyday materials to create something functional fosters creativity and resourcefulness.
Conclusion
Creating a homemade thermometer is a simple yet effective way to explore the principles of temperature measurement. Whether you’re a science enthusiast, a parent looking for a fun DIY project, or a student seeking to enhance your understanding of scientific concepts, this project offers something for everyone. While it may not be as precise as a digital thermometer, it provides a valuable learning experience and a sense of accomplishment.
So, gather your materials, follow the steps, and start tracking temperature like a scientist! With this homemade thermometer, you’ll be ready to explore the fascinating world of temperature measurement in no time. Happy experimenting!