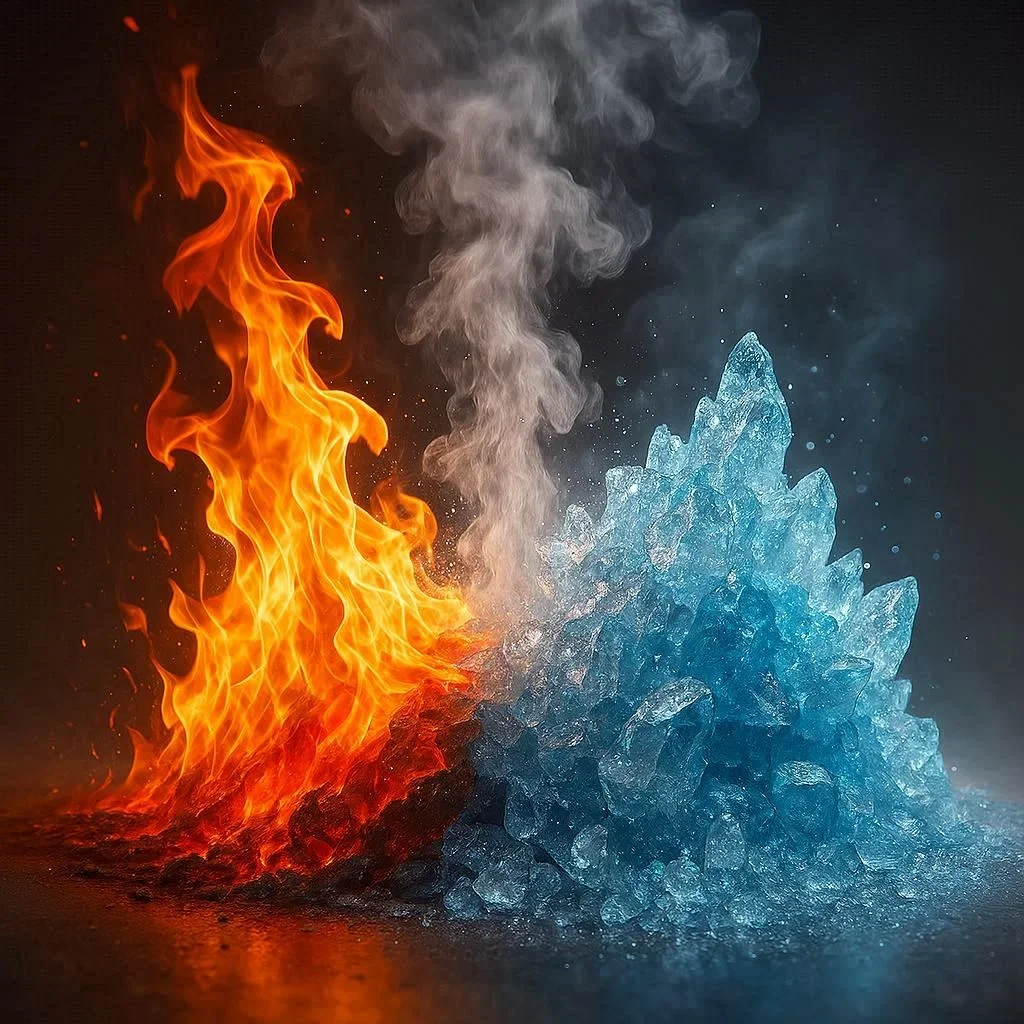
Crystal Ornaments have fascinated hobbyists and scientists alike for centuries, offering a tangible glimpse into the natural processes that shape our planet’s mineral wealth. Whether you’re a DIY enthusiast looking to create a stunning centerpiece or a geology student eager to observe crystal growth firsthand, this guide will walk you through the science, materials, and techniques needed to craft your own crystal ornaments and study their formation.
Understanding Crystal Ornaments Formation
At its core, a crystal ornament is a miniature representation of a crystal lattice that has grown under controlled conditions. The process begins with a supersaturated solution or melt, where ions or molecules are present in excess. As the solution cools or the melt solidifies, these excess particles begin to arrange themselves into a repeating, ordered structure—this is the crystal lattice. The shape and size of the resulting crystal are governed by factors such as temperature, concentration, and the presence of impurities or seed crystals.
Crystals form naturally in a variety of environments—from the slow precipitation of minerals in evaporating lakes to the rapid crystallization of magma. By replicating these conditions in a laboratory or home setting, you can observe the same principles at work on a scale that’s both manageable and visually striking.
Materials and Tools for DIY Crystal Ornaments
Creating crystal ornaments requires a few key materials and tools. Below is a concise list to get you started:
- Supersaturated solution or melt – Common choices include copper sulfate, sodium chloride, or sugar solutions.
- Seed crystals or nucleation sites – Small pieces of pre‑grown crystal or a roughened surface to encourage growth.
- Heat source – A stove, hot plate, or oven to maintain temperature control.
- Containers – Glass beakers, jars, or silicone molds that can withstand heat.
- Stirring rod or magnetic stirrer – To ensure uniform distribution of ions.
- Thermometer – Accurate temperature monitoring is essential.
- Protective gear – Gloves and safety glasses for handling chemicals.
For more detailed information on the chemistry behind crystal growth, you can refer to the Crystal Growth page on Wikipedia.
Step‑by‑Step Guide to Growing Your Own Crystal Ornaments
Follow these steps to produce crystal ornaments that not only look impressive but also provide insight into the crystallization process:
- Dissolve the Solute – Heat your chosen solvent (water or another liquid) and add the solute until no more dissolves. This creates a saturated solution.
- Cool to Supersaturation – Allow the solution to cool slowly. As it cools, it becomes supersaturated, meaning it holds more solute than it can normally at that temperature.
- Add a Seed Crystal – Introduce a small seed crystal or place a roughened surface in the solution. This provides a template for the ions to arrange themselves.
- Maintain Temperature – Keep the solution at a steady temperature using a hot plate or oven. Small fluctuations can lead to irregular growth.
- Observe Growth – Over hours or days, watch as the crystal grows. The shape will depend on the crystal system (cubic, hexagonal, etc.) and the growth conditions.
- Harvest and Dry – Once the crystal reaches the desired size, carefully remove it, rinse with distilled water, and dry in a low‑heat oven.
For a deeper dive into the physics of crystal nucleation, the Nature article on nucleation provides an excellent overview.
Analyzing the Resulting Crystal Structures
Once your crystal ornament is complete, you can analyze its structure to better understand the conditions that produced it. Key aspects to examine include:
- Crystal System – Identify whether the crystal is cubic, tetragonal, orthorhombic, etc. This can often be inferred from the external shape.
- Facet Orientation – Observe the flat surfaces (facets) and note their angles. These correspond to specific crystallographic planes.
- Growth Rate – Measure the size of the crystal over time to calculate growth rates, which can be compared to theoretical models.
- Impurities and Defects – Look for inclusions or irregularities that indicate impurities or stress during growth.
Educational resources such as the USGS Mineral Resources Program offer detailed guides on mineral identification and crystallography.
Conclusion and Next Steps
By following the steps outlined above, you can create beautiful crystal ornaments that serve as both decorative pieces and scientific experiments. The process not only demonstrates the elegance of crystal growth but also provides a hands‑on learning experience in mineralogy and materials science.
Ready to start your crystal ornament project? Gather your materials, follow the guide, and share your results with the community. For more advanced techniques, explore university labs or online courses in crystallography. Happy growing!
Frequently Asked Questions
Q1. What materials do I need to grow crystal ornaments?
To start, you’ll need a supersaturated solution such as copper sulfate or sugar, a seed crystal or roughened surface, a heat source, a heat‑resistant container, a stirring rod or magnetic stirrer, a thermometer, and protective gear like gloves and safety glasses. Distilled water is preferred to avoid impurities that can distort crystal growth. Optional items include a silicone mold for shaping and a low‑heat oven for drying.
Q2. How long does it take for a crystal ornament to grow?
The growth time varies with the chosen solute and conditions. Simple sugar crystals can form in a few hours, while copper sulfate crystals may take 24–48 hours to reach a few centimeters. Patience is key; slow, steady growth yields clearer, more symmetrical crystals.
Q3. Can I use any type of salt to grow crystals?
Not all salts are suitable. Soluble salts that form clear crystals, such as sodium chloride, copper sulfate, or potassium nitrate, work best. Insoluble or highly colored salts may produce opaque or irregular crystals, which can still be interesting but are less ideal for ornamental purposes.
Q4. How do I prevent impurities from affecting crystal growth?
Use high‑purity reagents and distilled water to minimize unwanted ions. Filter the solution before heating to remove particulates. Keep the growth environment clean and avoid touching the seed crystal with bare hands.
Q5. What safety precautions should I follow when working with chemicals?
Always wear gloves and safety glasses to protect against splashes. Work in a well‑ventilated area or under a fume hood if using volatile solvents. Store chemicals in labeled containers and keep them out of reach of children.