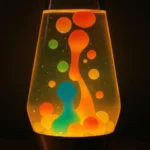
The Science Behind the Sparkle: Why Glow-in-the-Dark Slime Works
Glow-in-the-dark slime is more than just a fun activity; it’s a surprisingly accessible and rewarding project. For years, this captivating phenomenon has captivated anyone looking for a unique way to add ambiance or create memorable moments. But what *is* it exactly? The magic lies in the properties of pyrazoles and other fluorescent compounds – chemicals that emit light when stimulated by an electrical current. This article will delve into the science behind this glow, explore various methods of creation, and guide you through a step-by-step process to build your own dazzling DIY glow-in-the-dark slime.
Understanding the Key Components
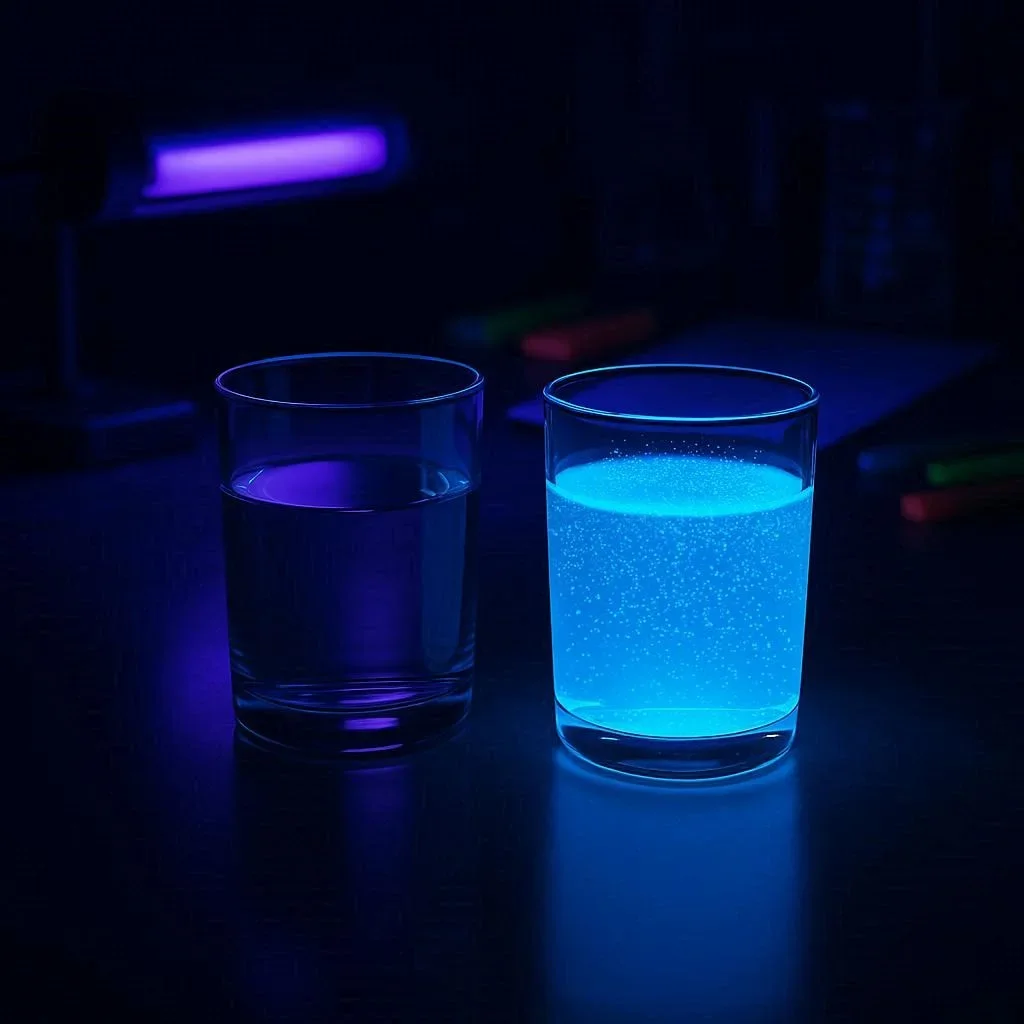
A successful glow-in-the-dark slime relies on a combination of ingredients. The core component is typically a clear or slightly tinted polymer, often acrylic or PVA (polyvinyl alcohol). This provides the base for the slime’s structure and allows the light to penetrate and interact with the pyrazoles. Crucially, you need pyrazoles – these are organic compounds that fluoresce under UV light. They’re often sourced commercially as powder forms, but creating them yourself is a fantastic learning experience! A small amount of sodium tripolyphosphate (STPP) acts as an activator. This salt reacts with the pyrazoles to initiate the glow. Finally, you’ll need a conductive material – usually a silver sulfate solution or a mixture of copper acetate and iodide. This provides the electrical pathway for the light emission.
Method 1: The Classic Powder Method – Simple & Effective
This is often considered the easiest method to begin with. It’s a great starting point for exploring glow-in-the-dark slime, particularly for beginners. The process involves mixing your polymer with powdered pyrazoles, sodium tripolyphosphate (STPP), and conductive materials. The ratios are crucial – typically, you’ll start with approximately 50-70% polymer, 10-20% STPP, and a small amount of silver sulfate solution. The key here is consistency – achieving a smooth, homogenous slime is essential for optimal glow. A good rule of thumb is to add the powders slowly while mixing until you achieve a consistent texture.
- Start with 10-15 grams of polymer (e.g., acrylic or PVA).
- Add 5-7 grams of sodium tripolyphosphate (STPP).
- Slowly add 2-3 grams of silver sulfate solution, stirring constantly.
- Mix thoroughly until the slime forms.
Method 2: Layered Glow – A More Controlled Approach
This method offers greater control over the glow’s intensity and color, resulting in a more refined finish. It involves layering different components to achieve a spectrum of colors and brightness levels. Begin by mixing your polymer with silver sulfate solution. Then, slowly add a small amount of pyrazoles and STPP, stirring continuously. The layering technique allows for a gradual change in luminescence as the solutions mix. A crucial element here is patience – allowing each layer to fully incorporate before adding the next – this ensures a more consistent glow.
- Combine 10-15 grams of polymer with silver sulfate solution.
- Slowly add 2-3 grams of pyrazoles and STPP, stirring thoroughly.
- Allow each layer to solidify completely (about 5-10 minutes).
- Repeat layers as desired – you may need multiple layers for a more vibrant effect.
Method 3: Adding Reactive Dyes – For Stunning Color Shifts
For a truly spectacular glow, consider incorporating reactive dyes. These dyes contain fluorescent compounds that react with the light, producing a range of colors as they fluoresce. You’ll need a UV-reactive polymer base, such as acrylic or PVA, and then introduce the dye – typically in a small amount mixed with the polymer. This method allows for highly controlled color shifts and creates unique effects – think neon greens, blues, and purples!
- Use 10-15 grams of polymer.
- Add 2-3 grams of reactive dye (choose a vibrant color).
- Mix thoroughly until the dye is evenly distributed.
- Observe the resulting glow – you’ll be amazed by the spectrum!
Troubleshooting Common Glow-in-the-Dark Slime Issues
While DIY glow-in-the-dark slime is generally reliable, it’s not without potential pitfalls. Here are some common problems and how to address them:
- Lack of Glow: Ensure you’re using enough pyrazoles and STPP. Verify the conductivity of your material. Consider adding a small amount of UV light to stimulate the glow.
- Dim Glow: Increase the concentration of pyrazoles or silver sulfate solution. Adjust the mixing time – thorough blending is critical.
- Unstable Slime: Use a thicker polymer base for increased stability. Add a stabilizer like citric acid (a tiny amount) to help prevent premature crystallization.
- Color Issues: Experiment with different dye options or adjust the ratios of the components. Ensure that your conductivity material is clean and properly prepared.
Safety Considerations
While DIY glow-in-the-dark slime is generally safe, it’s important to take precautions. Avoid swallowing any of the ingredients. Keep the slime out of reach of small children. Always supervise children during activities involving these materials.
Beyond Simple Glow: Creative Applications
The possibilities for creative applications extend far beyond a simple glow-in-the-dark slime. Imagine using it to decorate surfaces, create interactive art installations, or even add a touch of magic to party favors – the potential is truly limitless. Experiment with incorporating glitter, beads, or other embellishments to enhance the visual appeal. Consider creating glowing patterns or designs that respond to movement – think of a pulsing effect!