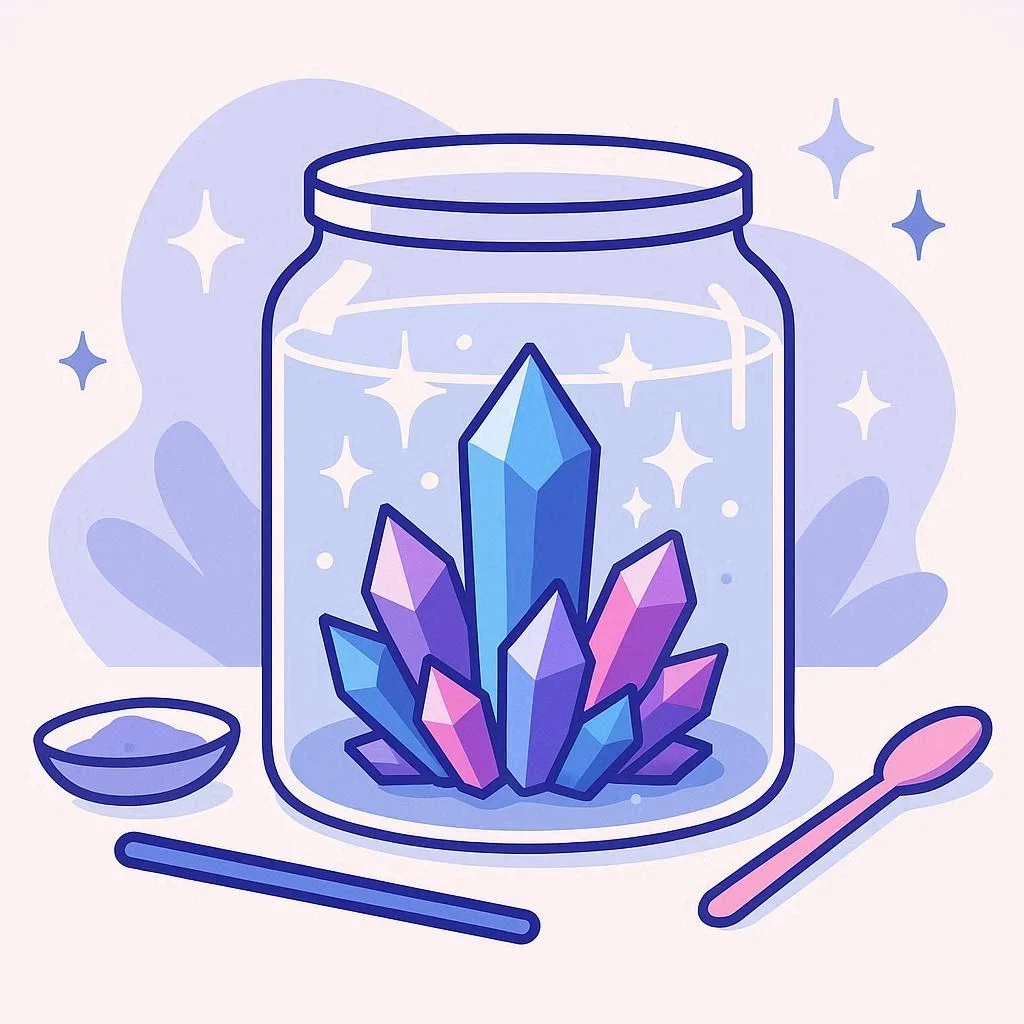
Growing your own crystals at home is a fun and educational science project that can be enjoyed by people of all ages. Whether you’re a parent looking for a creative activity to share with your kids or a curious individual interested in chemistry, this guide will walk you through the process step by step. With just a few simple materials, you can create a beautiful crystal garden that will amaze and delight.
[hfcm id=”1″]
Materials Needed
Before you start, gather the following materials:
- String or a paper clip: This will act as the base for your crystal to form around.
- Hot water: You’ll need enough to fill your container.
- Food coloring (optional): To color your crystals.
- Epsom salt or table salt: This is the key ingredient for growing your crystals.
- A clean glass jar or container: This will be the home for your crystal garden.
- A pencil or stick: To hold the string or paper clip in place.
Step-by-Step Instructions
Step 1: Prepare the Jar
Start by cleaning your glass jar thoroughly. Rinse it with hot water to ensure there are no residues that might interfere with the crystal growth. If you’d like, add a few drops of food coloring to the jar to give your crystals some color.
Step 2: Dissolve the Salt
In a saucepan, boil some water. The amount will depend on the size of your jar, but a good rule of thumb is to use about 2-3 cups of water for a standard-sized jar. Once the water is boiling, gradually add the Epsom salt or table salt, stirring constantly. Keep adding the salt until no more can dissolve. This process is called reaching the solubility point.
Step 3: Cool the Solution
Let the saltwater solution cool slightly. It should still be warm but not boiling hot. Pour the solution into your prepared jar, making sure to leave about an inch at the top.
Step 4: Suspend the String or Paper Clip
Take your string or paper clip and tie one end to the pencil or stick. Suspend the other end into the jar, making sure it doesn’t touch the sides or bottom. This will be the foundation for your crystal to grow.
Step 5: Wait for Crystals to Form
Cover the jar with a paper towel or coffee filter to keep dust out and place it in a cool, dry place. Now, the hardest part – waiting! It can take anywhere from a few days to a week for crystals to form, depending on factors like humidity and temperature.
The Science Behind Crystal Growth
Crystals form when a solution is supersaturated, meaning it contains more dissolved substance than it can hold under normal conditions. By cooling the solution slowly, the dissolved salt molecules start to bond together, forming a crystal lattice structure around the string or paper clip. This process is enhanced by providing a surface, like the string, for the crystals to nucleate and grow.
[hfcm id=”1″]
Tips and Variations
- Use Epsom Salt: While table salt works, Epsom salt produces larger and more impressive crystals.
- Temperature Control: Cooler environments generally promote faster crystal growth.
- Experiment with Colors: Add different food colorings to create multi-colored crystals.
- Try Different Shapes: Instead of a string, use a pinecone or a small toy as the base for a unique crystal structure.
Common Mistakes to Avoid
- Rushing the Process: Crystals take time to grow, so resist the temptation to disturb the jar.
- Incorrect Temperature: If the solution is too hot, it may not form crystals properly. Let it cool slightly before pouring.
- Impurities: Make sure all materials are clean to prevent unwanted particles from interfering with crystal growth.
Frequently Asked Questions
Q: Why aren’t my crystals growing?
A: Check that your solution is supersaturated and that your jar is in a cool, dry place. Ensure the string or paper clip isn’t touching the sides or bottom of the jar.
Q: Can I speed up the crystal growth?
A: While it’s tempting to speed things up, patience is key. Rapid cooling can lead to small, less impressive crystals. Let the process take its natural course for the best results.
Q: Can I use other types of salt?
A: Yes! Experiment with different salts like sea salt or kosher salt to see how they affect the crystal formation and size.
Conclusion
Growing your own crystal garden is a fun and fascinating science project that can be customized to your creativity. With just a few simple materials and some patience, you can create a beautiful and educational display that will captivate anyone who sees it. Whether you’re a science enthusiast or just looking for a creative activity, this project is sure to deliver hours of enjoyment and learning.
[hfcm id=”1″]


