When you think of ice cream, you probably picture a churn, a freezer, and a lot of patience. But did you know you can create a smooth, creamy frozen dessert in minutes by harnessing simple chemical reactions? Make Ice Cream Using Chemical Reactions is a fun, science‑rich approach that brings the magic of food chemistry straight to your kitchen. In this guide we’ll explore the science, the essential ingredients, and three reliable methods—dry ice, liquid nitrogen, and a traditional freezer‑shake technique—so you can whip up a gourmet treat without waiting for hours.
Make Ice Cream Using Chemical Reactions – The Basics
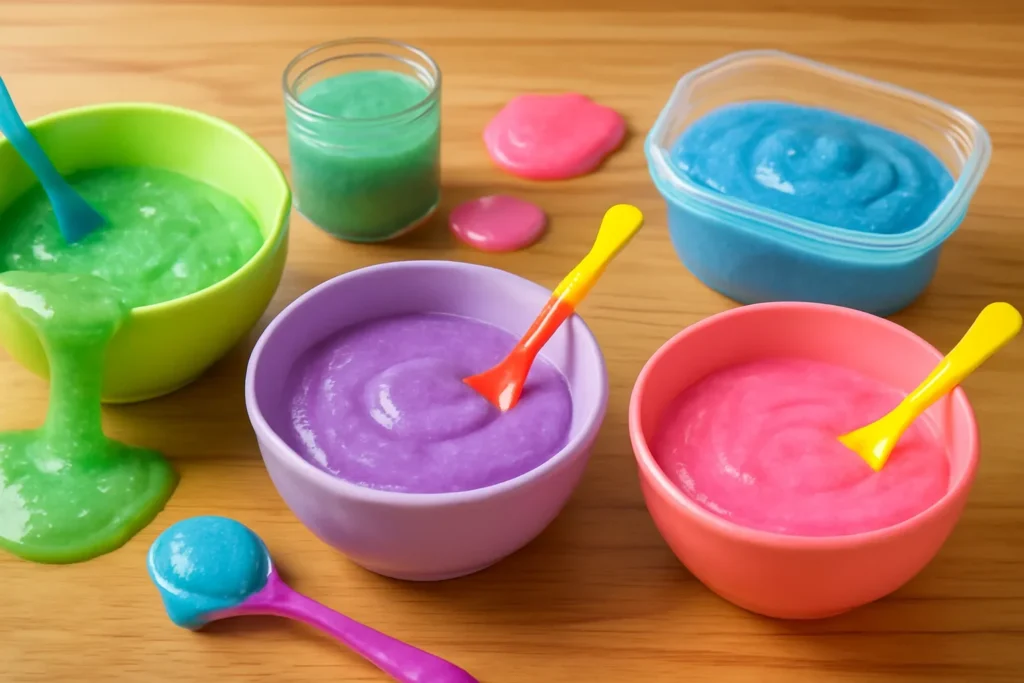
At its core, ice cream is an emulsion of water, fat, sugar, and air. The goal of any freezing method is to lower the temperature of the mixture fast enough to form tiny ice crystals, while simultaneously incorporating air (overrun) to give the dessert its signature light texture. Chemical reactions accelerate this process by providing a rapid temperature drop or by altering the freezing point of the mixture.
The most common reactions used in home‑style ice cream are:
- Endothermic sublimation of dry ice (solid carbon dioxide) which absorbs heat as it turns directly into gas.
- Endothermic vaporization of liquid nitrogen, which cools at –196 °C, instantly freezing the surrounding liquid.
- Freezing point depression achieved by adding high concentrations of sugar, alcohol, or salt, which lowers the temperature at which water turns to ice.
Each reaction provides a different sensory experience, cost, and safety profile, allowing you to choose the method that fits your kitchen and curiosity.
Make Ice Cream Using Chemical Reactions – Dry Ice Method
Dry ice is widely available at grocery stores and offers a safe, manageable way to freeze ice cream quickly. The endothermic reaction occurs when dry ice sublimates, pulling heat from the ice‑cream base and dropping its temperature far below the normal freezer range.
What you’ll need:
- 2 cups heavy cream
- 1 cup whole milk
- ¾ cup granulated sugar
- 1 ½ teaspoons vanilla extract
- ½ teaspoon kosher salt
- 8 oz (≈ 227 g) dry ice, crushed into small pellets
- Sturdy insulated mixing bowl
- Wooden spoon or hand‑held mixer
Follow these steps:
- Combine the cream, milk, sugar, vanilla, and salt in the insulated bowl. Stir until the sugar dissolves completely.
- Gradually add the crushed dry ice, stirring continuously. The mixture will begin to foam and thicken as the temperature drops.
- Continue mixing until the mixture reaches a soft‑serve consistency (approximately 5‑7 minutes). If the mixture becomes too firm, add a splash of milk.
- Transfer the frozen ice cream to an airtight container and store at –18 °C (0 °F) for a firmer finish if desired.
Because the reaction is rapid, you’ll notice tiny ice crystals forming, resulting in an ultra‑smooth texture. The process is also a great demonstration for kids learning about sublimation and heat transfer.
Make Ice Cream Using Chemical Reactions – Liquid Nitrogen Option
Liquid nitrogen provides an even colder environment than dry ice, making it a favorite among professional chefs and molecular gastronomy enthusiasts. The rapid vaporization of nitrogen (–196 °C) freezes the ice‑cream base almost instantaneously, yielding a silk‑like mouthfeel.
Safety first: Always wear cryogenic gloves, goggles, and work in a well‑ventilated area. Never seal nitrogen‑filled containers, as pressure buildup can cause explosions.
Ingredients (same base as dry‑ice method):
- 2 cups heavy cream
- 1 cup whole milk
- ¾ cup sugar
- 1 ½ teaspoons vanilla
- ½ teaspoon salt
- ½ cup liquid nitrogen (≈ 120 ml)
Steps:
- Mix all ingredients in a stainless‑steel bowl until the sugar is dissolved.
- Place the bowl on a sturdy tray and slowly pour the liquid nitrogen while continuously whisking. The mixture will fizzle and thicken within seconds.
- When the desired consistency is achieved, stop adding nitrogen and continue whisking for another minute to ensure an even texture.
- Transfer to a serving dish and enjoy immediately, or store briefly in a freezer for a firmer bite.
This method is prized for its ability to preserve delicate flavors that might otherwise evaporate during a slower freeze. For more on the science of nitrogen freezing, see the Liquid Nitrogen – Wikipedia article.
Make Ice Cream Using Chemical Reactions – Safe Practices
While the chemistry is exciting, safety should never be an afterthought. Here are essential guidelines:
- Ventilation: Conduct dry‑ice and nitrogen experiments in a well‑ventilated space to avoid buildup of CO₂ or nitrogen gas.
- Protective gear: Use insulated gloves, goggles, and long sleeves to guard against frostbite.
- Proper storage: Keep dry ice in insulated containers, but never in airtight boxes, as pressure can cause ruptures (see USDA Food Safety guidelines for handling frozen foods).
- Labeling: Clearly label any non‑food‑grade chemicals and store them away from consumables.
Understanding the underlying chemistry also invites creativity. For instance, adding a modest amount of alcohol (e.g., vodka or liqueur) lowers the freezing point, allowing you to achieve a softer scoop even at standard freezer temperatures. However, keep the alcohol content below 5 % to maintain safety and prevent the mixture from remaining liquid.
Make Ice Cream Using Chemical Reactions – Flavor Variations and Science
Once you’ve mastered the basic reaction, you can experiment with flavors, colors, and textures. The key is to consider how each addition influences the freezing point and crystal formation.
Fruit purees and sorbets: Fruit introduces natural sugars and acids, which both lower the freezing point. To keep the sorbet smooth, blend the fruit, strain out seeds, and add a touch of corn syrup to inhibit crystal growth.
Chocolate and nuts: Fats from cocoa butter and nut oils act as lubricants, making the final product creamier. Melt chocolate gently before incorporating, ensuring it does not solidify when chilled.
For a deeper dive into food chemistry, consult the UC Davis Food Science department’s resources, which outline how sugars, fats, and proteins interact during freezing.
By balancing the concentration of sugars, fats, and stabilizers (like gelatin or xanthan gum), you can tailor the texture to your preference—whether that’s a firm Italian gelato or a fluffy American soft‑serve.
Remember: The most important factor is rapid freezing, which prevents large ice crystals from forming. Chemical reactions are simply the most efficient way to achieve that speed in a home setting.
Conclusion
Make Ice Cream Using Chemical Reactions is more than a party trick; it’s a practical application of thermodynamics, phase changes, and food science. Whether you choose dry ice for its accessibility, liquid nitrogen for its ultra‑cold power, or a freezer‑shake method that relies on freezing‑point depression, each technique demonstrates how chemistry can transform a simple dairy mixture into a luxurious dessert in minutes.
Ready to impress friends, spark curiosity in children, or simply enjoy a faster way to satisfy your sweet tooth? Grab your ingredients, follow the safe steps outlined above, and start experimenting today. Share your creations on social media, and don’t forget to tag us so we can see the delicious results of your Make Ice Cream Using Chemical Reactions adventures!
Try one of these methods now and experience the magic of science in every bite.
Frequently Asked Questions
Q1. What chemical principle allows dry ice to freeze ice cream so fast?
Dry ice is solid carbon dioxide, which sublimates directly from solid to gas. This endothermic process absorbs heat from the surrounding ice‑cream mixture, causing a rapid temperature drop. The quick cooling prevents large ice crystals from forming, resulting in a creamy texture. It also releases CO₂ gas, which can create light over‑run when stirred.
Q2. Is it safe to use liquid nitrogen at home?
Liquid nitrogen can be used safely if you follow strict precautions: wear insulated gloves and safety goggles, work in a well‑ventilated area, and never seal it in a closed container. Add the nitrogen slowly while continuously whisking to avoid splashing. Keep children away and store it in a proper cryogenic container when not in use.
Q3. Can I make ice cream without dry ice or liquid nitrogen?
Yes. By using the freezing‑point depression method you can lower the temperature at which water freezes with sugar, salt, or a touch of alcohol. Combine the base with an ice‑salt bath and stir constantly, or let the mixture sit in a regular freezer while shaking it every 30 minutes to break up ice crystals.
Q4. How do I keep ice crystals from forming and achieve a smooth texture?
Rapid freezing is key; the faster the mixture reaches below –5 °C, the smaller the crystals. Adding stabilizers such as a small amount of corn syrup, gelatin, or xanthan gum also inhibits crystal growth. Finally, whisk or churn continuously while the mixture freezes to incorporate air and break up any forming crystals.
Q5. Can I add alcohol or other flavorings without ruining the freeze?
Alcohol lowers the freezing point, so a modest amount (typically under 5 % ABV) can keep the ice cream softer and easier to scoop. Use spirits or liqueurs after the base is mixed, and adjust the sugar level to compensate for the extra freezing‑point depression. Too much alcohol will prevent the mixture from solidifying at all.