How Yeast Fermentation Works in a Balloon Experiment
Yeast fermentation is a fascinating process that has captivated scientists and baking enthusiasts alike for centuries. This simple yet educational experiment demonstrates the biological process of fermentation, where yeast converts sugar into carbon dioxide gas, causing a balloon to inflate. In this blog post, we’ll explore the science behind yeast fermentation, the materials needed, and a step-by-step guide to conducting the experiment, making it a perfect STEM activity for students of all ages.
The Science Behind Yeast Fermentation
Yeast is a microorganism that plays a crucial role in fermentation. When yeast ferments, it consumes sugars and produces alcohol and carbon dioxide. This process occurs in two phases: aerobic and anaerobic respiration. In the beginning, yeast cells use oxygen to break down sugars into energy. Once oxygen is depleted, they switch to anaerobic respiration, producing alcohol and carbon dioxide.
Yeast Fermentation Explained
Yeast fermentation involves the conversion of sugars into alcohol and CO₂ through a series of enzyme-catalyzed reactions. This process is essential in baking and brewing. In this experiment, the carbon dioxide produced gets trapped inside the balloon, causing it to inflate.
Materials Needed for the Balloon Experiment
- Active dry yeast (available at most grocery stores)
- 1 cup of warm water
- 1 tablespoon of sugar
- A 2-liter plastic bottle
- A balloon
- Optional: food coloring, more sugar for faster results
Step-by-Step Guide to the Balloon Experiment
- Activate the Yeast: Start by activating the yeast. In a cup of warm water (not hot), add the dry yeast and let it sit for about 5 minutes until it becomes frothy and bubbly.
- Mix Sugar and Yeast: Add 1 tablespoon of sugar to the yeast mixture and stir lightly to dissolve.
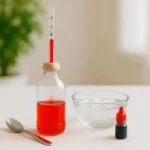
- Prepare the Bottle: Rinse and dry the 2-liter bottle thoroughly. If desired, add a few drops of food coloring to the yeast mixture for a colorful effect.
- Transfer Mixture: Pour the yeast mixture into the bottle using a funnel. If adding more sugar for faster fermentation, now is the time to include it.
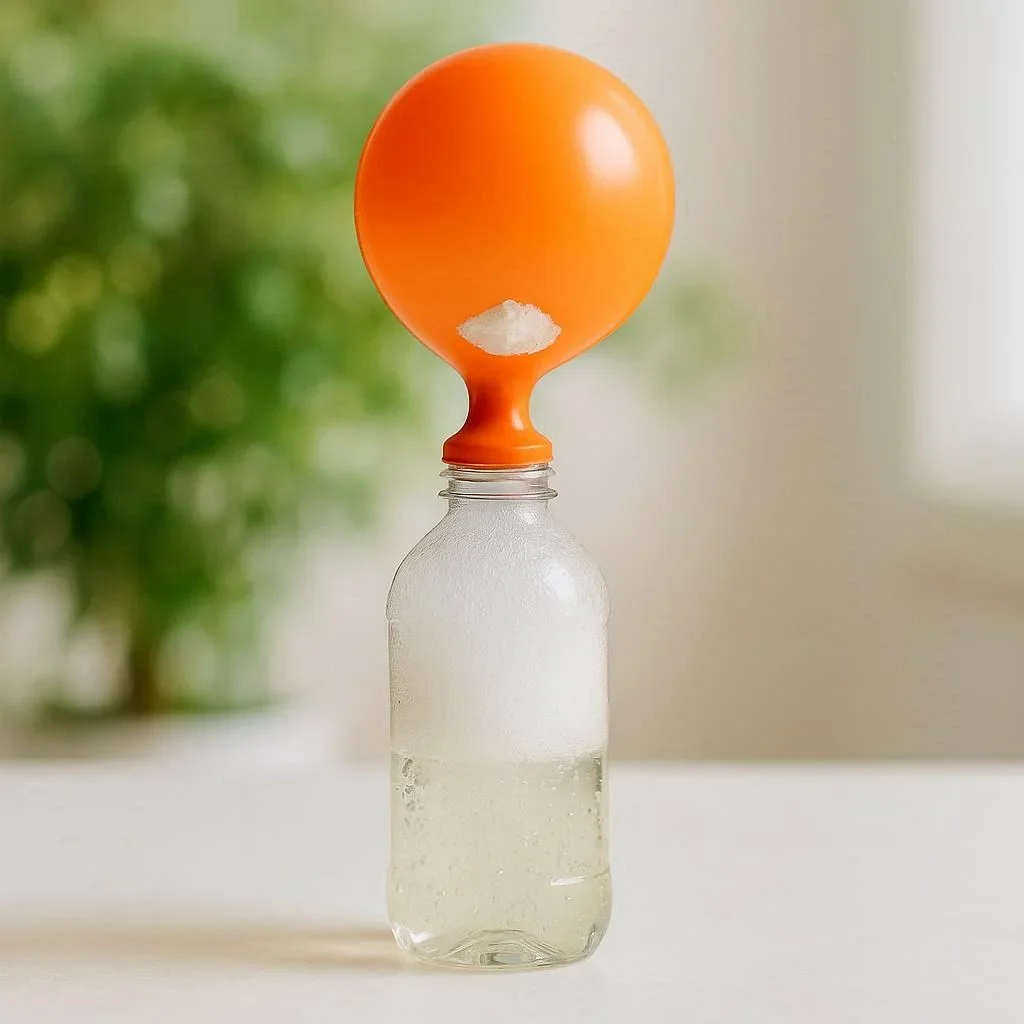
- Inflate the Balloon: Blow up the balloon a few times to stretch it, then place it over the bottle’s opening, ensuring a snug fit. Secure it with a rubber band if necessary.
- Observe and Wait: Place the bottle in a warm area and observe the balloon over time. The balloon should start inflating within 30 minutes to an hour as CO₂ builds up.
- Record Results: Document the inflation process, noting how quickly the balloon inflates and any factors affecting the rate.
Observing the Results
As yeast ferments, CO₂ is released into the bottle, causing the balloon to inflate. The rate of inflation depends on factors like temperature, sugar quantity, and yeast activity. Warmer temperatures and more sugar typically lead to faster fermentation.
Conclusion and Next Steps
This experiment is a fun, hands-on way to learn about yeast fermentation and its practical applications. It’s perfect for students exploring biological processes or for anyone interested in STEM education. After mastering this experiment, you can explore variations, such as testing different sugars or temperatures, to see how they affect fermentation rates. Share your findings with others and enjoy the wonders of yeast!
For more information on yeast and fermentation, visit Wikipedia’s Yeast page and Khan Academy’s Fermentation Overview.