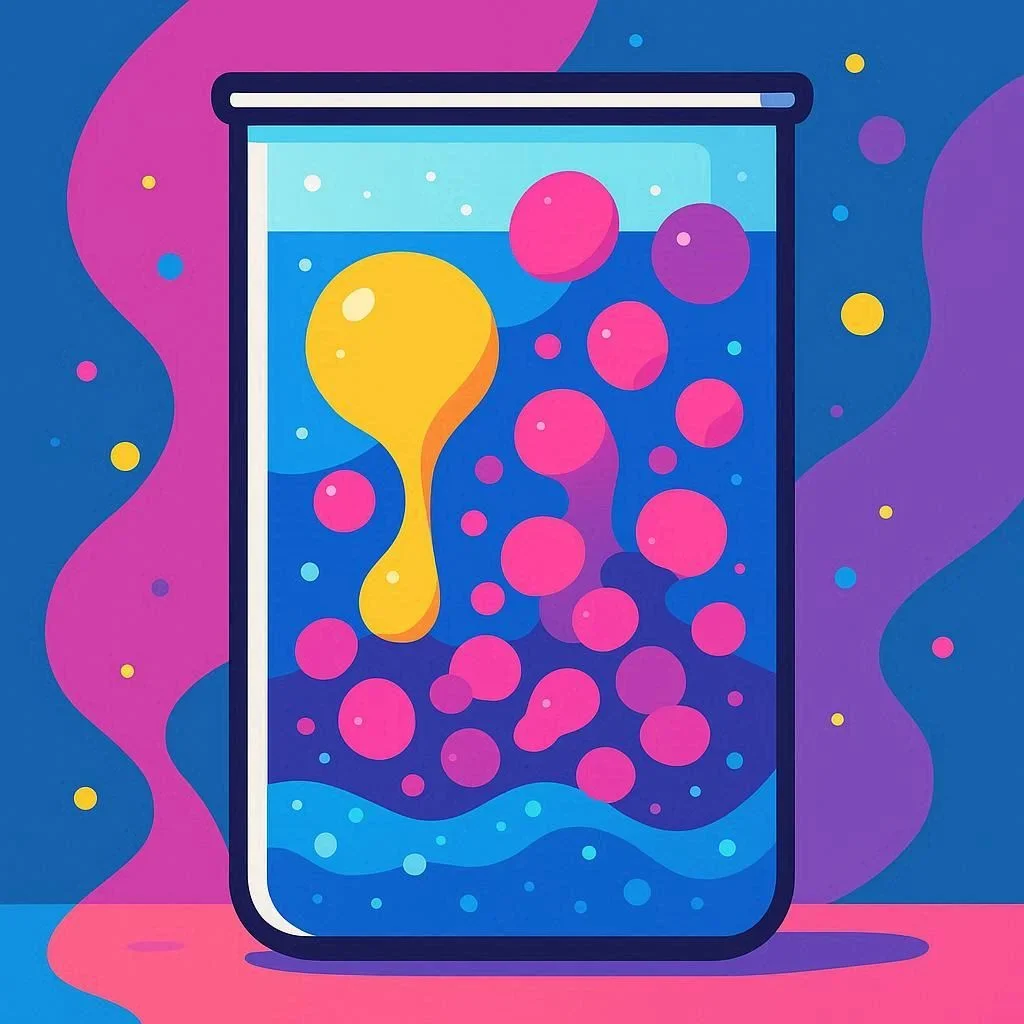
Rainbow Jars is a simple yet captivating science experiment that lets you explore the concept of liquid density right in your kitchen. By layering liquids of different densities, you create a colorful, translucent display that not only looks stunning but also demonstrates fundamental principles of physics and chemistry. In this guide, we’ll walk through the materials you need, the science behind the effect, step‑by‑step instructions, and how to analyze the results. Whether you’re a teacher, a parent, or a curious hobbyist, this experiment offers a hands‑on way to learn about density, buoyancy, and the behavior of fluids.
Materials and Setup
Gathering the right ingredients is key to achieving a clear, layered rainbow. Below is a concise list of what you’ll need:
- Clear glass jars or a tall, transparent container (e.g., a 1‑liter mason jar)
- Various liquids with distinct densities (see the list below)
- Food coloring (optional, for enhanced visual contrast)
- Measuring spoons or a small scale for precise volumes
- Stirring sticks or a long spoon
- Protective gloves and safety goggles (recommended for handling chemicals)
- Paper towels and a clean workspace
Common liquids used in rainbow jar experiments include:
- Water (density ~1.00 g/cm³)
- Honey or corn syrup (density ~1.35–1.40 g/cm³)
- Vegetable oil (density ~0.92 g/cm³)
- Ethanol or rubbing alcohol (density ~0.79 g/cm³)
- Glycerin (density ~1.26 g/cm³)
- Saltwater (density varies with salinity)
For a vibrant display, you can add a few drops of food coloring to each liquid before layering. This step is optional but helps differentiate the layers visually.
Understanding Liquid Density
Density is defined as mass per unit volume (ρ = m/V). It determines how a liquid will behave when placed in contact with another liquid of different density. When two liquids are poured together, the one with the higher density will settle below the lighter one, creating distinct layers. This principle is the same that keeps oil floating on water in a salad dressing or why a helium balloon rises in the air.
For a deeper dive into the physics of density, you can refer to the Wikipedia article on density, which explains the concept in both everyday and scientific contexts. Additionally, the National Institute of Standards and Technology (NIST) provides detailed data on the densities of common substances.
Step‑by‑Step Rainbow Jar Experiment
Follow these steps to create a stunning rainbow jar while learning about liquid density:
- Prepare the liquids. Measure equal volumes (e.g., 50 ml each) of the liquids you’ve chosen. If you’re using food coloring, add a drop or two to each liquid and stir until the color is uniform.
- Choose the layering order. Start with the liquid of the highest density at the bottom. For example, place honey first, then glycerin, followed by water, vegetable oil, and finally ethanol.
- Pour slowly. Use a spoon or a funnel to pour each liquid gently over the back of a spoon. This technique reduces turbulence and helps the liquid glide over the layer below without mixing.
- Observe the layers. Once all liquids are poured, you should see distinct, translucent bands. If the layers blur, the liquids may have similar densities or you may have poured too quickly.
- Record observations. Note the order of layers, the clarity of each band, and any unexpected mixing. This data will be useful when you analyze the results.
Remember to keep the jar upright and avoid shaking or moving it during the experiment, as this can disturb the layers.
Analyzing Results and Scientific Insights
After creating your rainbow jar, you can explore several scientific questions:
- Which liquid has the highest density? Compare the bottom layer to the others. The one that stays at the bottom is the densest.
- How does temperature affect density? Warm liquids expand and become less dense. Try repeating the experiment with warm and cold water to see the difference.
- What happens when you add salt? Dissolving salt in water increases its density. Adding a saline solution to the water layer should cause it to sink below the pure water layer.
- Can you predict the order? Use a density chart to forecast the layering sequence before you start pouring.
These observations reinforce the principle that density determines the relative positions of liquids in a mixture. For more advanced analysis, you can measure the exact densities using a hydrometer or a digital scale and compare your experimental results to theoretical values.
Safety Tips and Cleanup
While most household liquids are safe, it’s important to handle them responsibly:
- Wear gloves and goggles if you’re using chemicals like rubbing alcohol or concentrated acids.
- Work in a well‑ventilated area to avoid inhaling fumes.
- Dispose of leftover liquids according to local regulations. For example, ethanol can be poured down the drain with plenty of water, but heavy oils should be collected for proper disposal.
- Clean the jar immediately after the experiment to prevent staining or residue buildup.
For detailed safety guidelines, consult the CDC’s National Institute for Occupational Safety and Health (NIOSH) resources on chemical safety.
Conclusion: Bring Science to Life with Rainbow Jars
Rainbow Jars is more than a pretty visual trick; it’s a gateway to understanding the science of density, buoyancy, and fluid dynamics. By layering liquids of different densities, you create a living demonstration that can spark curiosity and inspire deeper exploration of physics and chemistry. Whether you’re teaching a lesson, conducting a home experiment, or simply enjoying a colorful display, this activity offers a hands‑on way to see science in action.
Frequently Asked Questions
Q1. What liquids can I use for a rainbow jar?
Common household liquids such as water, honey, vegetable oil, glycerin, and rubbing alcohol work well. The key is to choose liquids with distinct densities so they separate into layers. Adding food coloring can help you see each layer clearly.
Q2. How do I prevent the layers from mixing?
Pour each liquid slowly over the back of a spoon or through a funnel to reduce turbulence. Keep the jar upright and avoid shaking or moving it during the experiment. Using a small amount of food coloring can also help you spot any mixing early.
Q3. Can I use this experiment to teach about buoyancy?
Yes, the rainbow jar demonstrates buoyancy by showing how objects (or liquids) with lower density float above denser ones. You can extend the lesson by dropping small objects into the layers and observing where they settle.
Q4. What safety precautions should I take?
Wear gloves and goggles when handling chemicals like rubbing alcohol. Work in a well‑ventilated area and dispose of leftover liquids according to local regulations. Clean the jar immediately after use to prevent staining.
Q5. How can I measure the exact densities of the liquids?
You can use a hydrometer or a digital scale to weigh a known volume of each liquid. Compare the measured density to standard values from sources like NIST to verify your results. This adds a quantitative aspect to the visual demonstration.

