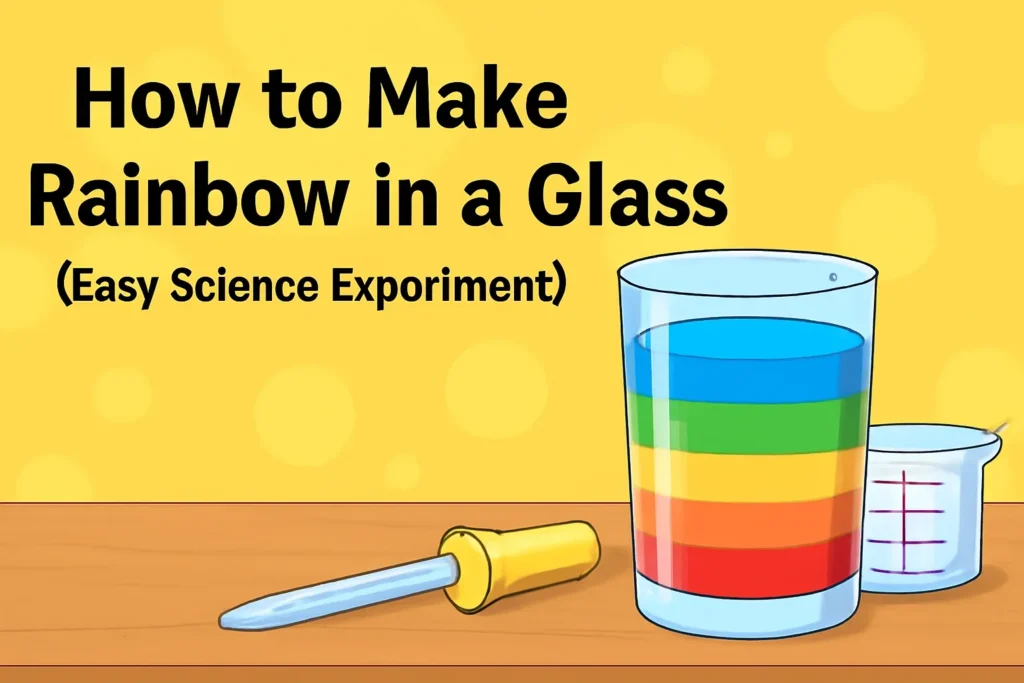
Creating a vivid rainbow with just a glass of water is a simple yet magical experiment that illustrates the principles of light refraction, dispersion, and the prism effect. By following a few easy steps, anyone—from curious children to science teachers—can produce a miniature spectrum that demonstrates how sunlight splits into its constituent colors. This guide walks you through the materials, the science behind the phenomenon, and detailed instructions to ensure a bright, lasting rainbow every time you try.
Materials Needed for the Experiment
Before you begin, gather the following items. Having everything on hand will keep the process smooth and prevent interruptions that could affect the clarity of your rainbow.
- A clear glass or clear plastic cup (preferably without any tint)
- Cold tap water (room temperature works as well)
- A white sheet of paper or a plain white surface
- A sunny window, outdoor space, or a strong artificial light source that mimics sunlight
- Optional: a small mirror to enhance the angle of incidence
All the items are everyday household objects, making this experiment accessible without any special equipment.
Why Light Forms a Rainbow: The Science of Refraction
When light travels from one medium to another—such as from air into water—it changes speed. This speed change bends the light ray, a process known as refraction. Different wavelengths (colors) of light travel at slightly different speeds, causing them to bend at slightly different angles. The separation of white light into a spectrum of colors is called dispersion, and it’s the same principle that allows a glass prism to create a rainbow.
For a deeper dive, you can read the detailed entry on the physics of refraction at Wikipedia. The National Aeronautics and Space Administration (NASA) also provides an excellent visual explanation of how sunlight interacts with water droplets in the atmosphere at NASA Climate. Understanding these optical phenomena helps you adjust the angle of light and the depth of water for the brightest possible rainbow.
Step‑by‑Step Procedure to Create the Rainbow
- Place the white sheet of paper on a flat surface where it will stay undisturbed.
- Fill the clear glass about three‑quarters full with water. The water should be still; avoid bubbles that can scatter light.
- Position the glass so that one side is directly facing the light source. If you’re using a window, angle the glass so that the sunlight enters the water at about a 45‑degree angle. If using artificial light, a desk lamp with a bright LED works well.
- Hold the glass gradually higher above the paper until a faint spectrum becomes visible on the paper. You may need to tilt the glass slightly left or right to find the optimal angle where the rainbow appears.
- For a larger, more defined rainbow, place a small mirror behind the glass to reflect additional light into the water. This can intensify the colors, especially the red and violet edges.
- Once the rainbow is clearly visible, take a photograph or make a sketch. This helps you compare results later if you experiment with different water depths or light angles.
Each step relies on controlling the angle of incidence and the depth of water—both key variables that affect how light refracts and spreads into a spectrum.
Common Troubleshooting Tips
If your rainbow looks faint or incomplete, consider the following adjustments:
- Light intensity: A weak light source will produce a dim spectrum. Bright direct sunlight or a high‑lumens LED lamp yields the best results.
- Water clarity: Ensure the water is free of impurities and bubbles. Filtered or distilled water can improve clarity.
- Angle of the glass: Slightly tilt the glass left or right, up or down. Small changes can dramatically enhance color separation.
- Background color: A white or very light background maximizes contrast. Dark backgrounds absorb light, making the rainbow harder to see.
For additional scientific context on how atmospheric particles affect natural rainbows, refer to the NOAA “How Rainbows Form” page at NOAA JetStream. This resource reinforces the link between everyday experiments and larger meteorological phenomena.
Extending the Experiment: Educational Applications
Teachers can use this simple setup to explore a range of topics, such as:
- Calculating the angle of deviation for each color using Snell’s Law.
- Discussing why rainbows appear as arcs in the sky but as straight lines in a glass of water.
- Connecting the experiment to historical figures like Isaac Newton, who first described light dispersion.
High‑school physics textbooks often include problem sets on light refraction; linking your classroom activity to those problems deepens student understanding. An excellent educational resource is the University of Colorado Boulder’s optics tutorial at CU Boulder Optics, which offers worksheets and further reading.
Conclusion: Bring the Spectrum Home
Creating a rainbow using a glass of water is more than a party trick—it’s a hands‑on illustration of fundamental physics that anyone can perform in minutes. By mastering the correct angles, water clarity, and lighting conditions, you’ll consistently produce bright, vivid rainbows that spark curiosity and wonder. Ready to share the magic? Try the experiment with friends, post your results on social media, and tag us to inspire others to explore light’s hidden colors.
Take action now: Gather your materials, set up the glass, and watch a spectrum unfold before your eyes. Capture your rainbow, share the knowledge, and keep exploring the science of light!
Frequently Asked Questions
Q1. What materials do I need to make a rainbow using a glass of water?
You will need a clear glass or plastic cup, water, a white sheet of paper, and a strong light source such as sunlight or a bright LED lamp. A small mirror is optional for enhancing brightness.
Q2. How does refraction produce the spectrum of colors?
When white light enters water it slows down and bends, a process called refraction. Different wavelengths bend at slightly different angles, separating the light into red, orange, yellow, green, blue, indigo and violet.
Q3. Why should I use a white background for the experiment?
A white or very light surface reflects most of the light that passes through the water, providing high contrast so the colors of the rainbow become clearly visible. Dark backgrounds absorb light and can make the spectrum appear faint.
Q4. Is tap water okay, or do I need distilled water?
Tap water works fine, but the clearer the water, the sharper the colors. Removing bubbles and using filtered or distilled water can improve the rainbow’s brightness and definition.
Q5. How can I make the rainbow larger or more vibrant?
Increase the angle between the light source and the glass, use a brighter light, or place a small mirror behind the glass to reflect additional light. Adjusting water depth and ensuring the glass is tilted correctly also enhances size and intensity.