A Beginner’s Guide to Water Rocket Launching
Water rockets are a fascinating, low‑cost way to explore propulsion physics, thrust, and aerodynamics. With a few household items you can build a safe launcher, ignite a simple bottle rocket, and then analyze its flight trajectory. This guide walks you through the design, construction, safety checks, launch procedure, and detailed trajectory study—complete with math and practical tips.
📱 Download Our Apps on Google Play
Click any app below to install it from the Google Play Store.


What You’ll Need
- 2–5‑liter plastic soda bottle (the tighter the better)
- Water bottle cap and a sharp screw or drill to create a port
- Compression tubing (1/2‑inch). 10–12 inches works fine.
- Flexible plastic pipe (1 inch) to serve as an elbow joint and to hold a pipe valve.
- Pressure gauge (optional, but highly recommended for safe thrust control)
- Strong support structure: wooden board or metal stand.
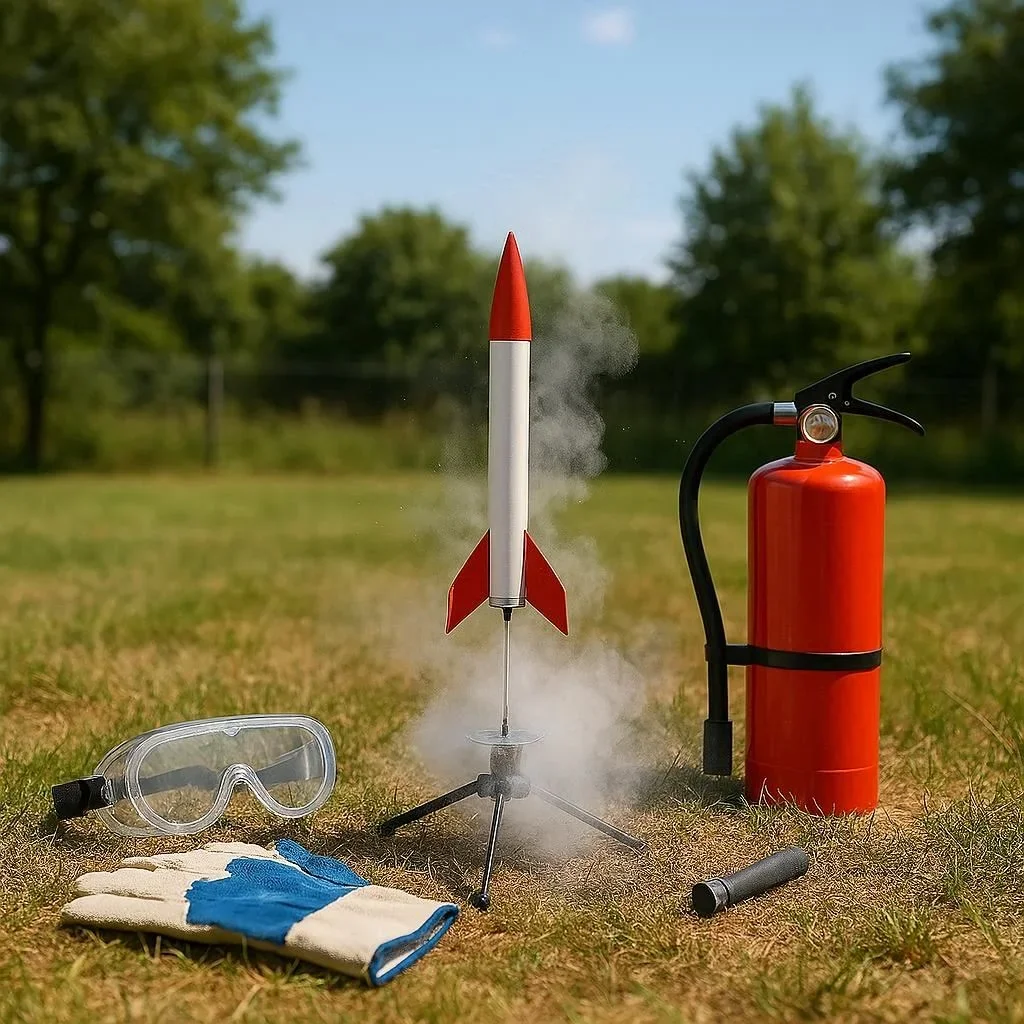
- Safety goggles, gloves and a back‑view safety screen.
- Marking pen, ruler or caliper, and a high‑speed camera (optional).
All of the items above can be sourced from hardware stores or online marketplaces, and many are already available at home.
Step 1: Building the Launcher
- Create the Port
- Mark a small hole on the lower side of the bottle (≈1 inches diam.)
- Use a drill or a sharp screw to enlarge the hole, allowing the compression tube to fit snugly.
- Seal any gaps with waterproof tape to ensure pressure doesn’t leak.
- Attach the Compression Tube
- Slide the tube into the port.
- Secure with a clamp or small epoxy to maintain airtightness.
- Add a Pressure Gauge and Valve
- Install a 1 inch pipe fitting on the tube’s other end.
- Attach a pressure gauge and a quick‑release valve (used in bike pumps). This will let you load and release water pressure safely.
- Mount the Launcher
- Fasten the bottle upright on a wooden board or metal stand.
- Add a back‑view safety screen or a wooden guard to protect the operator.
- Seal the Bottle
- Screw the cap back on snugly.
- Use a silicone sealing strip or a second cap to prevent water leakage during pressurization.
Step 2: Charging and Launching
Charging
- Fill the bottle partially with water (30–50 % volume). Too much water produces a heavier rocket; too little reduces thrust.
- Pump compressed air into the bottle until pressure reaches 3–4 psi (for a 5‑liter bottle). Use the pressure gauge to monitor.
- Keep the launcher vertical; do not tilt while charging.
Launching
- Align the launcher’s nozzle with a safe launch area (an open field or designated rocket launch zone).
- Position yourself behind the safety screen.
- Release the valve quickly, allowing the pressurized air to push water out and propel the rocket upward.
Safety Tips
- Always wear protective goggles.
- Never look directly at the rocket’s launch path.
- Check local regulations on water rocket launches—some areas require a permit.
Step 3: Recording the Flight
If you want precise trajectory data:
- High‑Speed Camera – Set up a camera on a tripod at a 45‑degree angle to film the launch. 15–30 fps can capture enough detail.
- Motion Markers – Place reflective markers on the rocket’s body so the camera can track motion.
- Telemetry – For advanced students, attach an Arduino or Raspberry Pi with a gyroscope to log acceleration, speed, and angle.
The film or the sensor data provides raw points for trajectory calculation.
Step 4: Trajectory Analysis
Basic Physics Overview
The rocket’s motion is governed by Newton’s Second Law:
[ F = m\,a ]
Where F is thrust, m is the mass of the rocket (including water), and a is acceleration. As water leaves the nozzle, thrust decreases rapidly (exponential decay). Gravity ((g = 9.81\,m/s^2)) pulls downward.
Calculating the Peak Height
If thrust and mass loss are small over the flight, you can estimate the maximum height h using the classic projectile equation:
[ v^2 = v_0^2 – 2gh ]
Where v_0 is the initial velocity obtained from the motion data, and v is zero at the peak. Rearranged:
[ h = \frac{v_0^2}{2g} ]
Determining Range
If you launch horizontally or at a small angle, the range R is approximately:
[ R = v0 \cdot t{flight}]
With t_{flight} derived from the vertical motion time to zero velocity and back.
Using the Physics Classroom
For a deeper dive into kinematics, consult The Physics Classroom Kinematics Module, which provides interactive tutorials and calculation worksheets.
Common Pitfalls & Troubleshooting
- Uneven Thrust – If the rocket wobble occurs, ensure the nozzle is centered and the seal is tight.
- Premature Release – A quick‑release valve that opens too fast can cause the rocket to flip. Use a slower valve or introduce a valve-lag.
- Low Altitude – Inadequate water volume or pressure. Test with a range of water percentages (20‑70 %) and pressures (1‑6 psi).
- Structural Failure – Over‑pressurizing a weak bottle can rupture. Stick to 3–4 psi for standard 5‑L containers.
Engaging With the Community
- Showcasing Your Launch – Post your flight video on platforms like YouTube. Tag with #WaterRocket, #DIYRocket, and #Physics.
- Sharing Data – Upload trajectory graphs to research communities or school science fairs.
- Joining Clubs – Many high schools host a Water Rocket Club. Check local resources or start one at home.
Frequently Asked Questions
Q1: Can I use a 10‑liter bottle instead of 5‑liter?
A1: Yes, but the launch height will be significantly larger, requiring a larger safety area and possibly higher pressure settings.
Q2: Is the launch illegal?
A2: Regulations vary. In some regions, water rockets are permitted anywhere, but in others, a permit may be required. Always verify local rules.
Q3: What safety gear is essential?
A3: At minimum, safety goggles, a protective back‑screen, and an impact‑absorbent mat. Gloves can protect your hands during pressurization.
Conclusion & Call to Action
Building a water rocket launcher is not just a fun DIY project—it’s a practical laboratory that illustrates the core principles of rocketry and physics. By carefully assembling the launcher, conducting systematic launches, and analyzing flight data, you gain a firsthand understanding of aerodynamics, thrust, and trajectory control. Whether you’re a student experimenting with basic mechanics, an enthusiast hunting for the next challenge, or an educator looking for an engaging classroom experiment, the water rocket offers a low‑cost, high‑learning platform.
Ready to take flight? Equip your launcher, set up a safe launch zone, and let the data guide your next experiment. Share your results, refine your design, and keep pushing the boundaries—rocket science is just a bottle and some compressed air away.
For more on water rockets and educational resources, visit Wikipedia Water Rocket or explore NASA’s Rocket Activity page.

100+ Science Experiments for Kids
Activities to Learn Physics, Chemistry and Biology at Home
Buy now on Amazon
Advanced AI for Kids
Learn Artificial Intelligence, Machine Learning, Robotics, and Future Technology in a Simple Way...Explore Science with Fun Activities.
Buy Now on Amazon
Easy Math for Kids
Fun and Simple Ways to Learn Numbers, Addition, Subtraction, Multiplication and Division for Ages 6-10 years.
Buy Now on Amazon🚀 Try These Free Android Apps
Download these useful apps directly from the Google Play Store.


